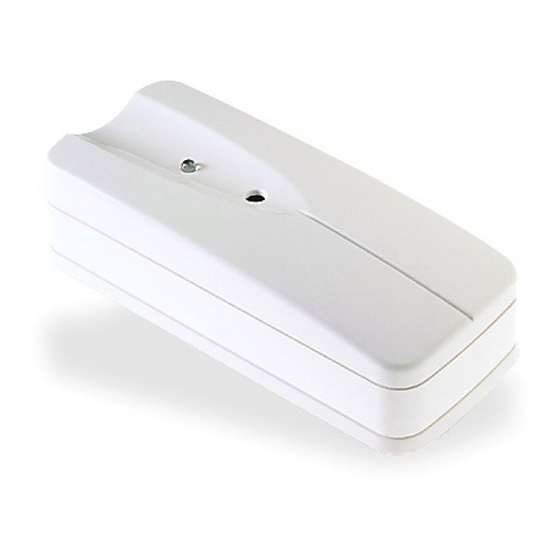
DSC WLS912 Kurulum Talimatları - Sayfa 2
Güvenlik Sensörleri DSC WLS912 için çevrimiçi göz atın veya pdf Kurulum Talimatları indirin. DSC WLS912 2 sayfaları. Glassbreak detector
Ayrıca DSC WLS912 için: Manuallinler ve Kurulum Talimatları (2 sayfalar)

2.
Install the batteries negative (–) side first, with the correct polarity, as shown
below.
Setting the Jumpers
The detector has user-selectable jumper settings as
shown.
Jumper 1– Not Used
Jumper 2– Level 1/Level 2 Detection
This is a sensitivity selection jumper which may be
used to optimize false alarm immunity for certain
acoustic environments.
The detector is factory set for Level 1 detection (Jumper
2 = OFF). This is the highest sensitivity setting for the detector, and will be suitable
for most applications.
For rooms which are smaller, and contain a significant number of sound-reflective
surfaces (such as bathrooms, kitchens, entrances, etc.), Level 2 detection (Jumper
2=ON) provides a reduced sensitivity setting which may be more appropriate.
Selecting a Mounting Location
The detector is omnidirectional, providing 360 degree coverage. Coverage is
measured from the center of the detector to the point on the glass farthest from
the detector.
Guidelines for optimizing detection and avoiding false alarms
•
For optimum protection, the detector should have a direct line of sight to the
protected glass.
•
Window coverings will absorb sound from the shattering glass. In these
cases, mount the detector as close as possible to the protected glass, either
on an adjacent wall, the ceiling, or behind the window covering if possible.
•
The detector should be mounted at least 1.8m (6 feet) off the ground.
•
Do not mount the detector on the same wall as the protected glass.
•
Avoid installation near noise sources, such as speakers or other objects
which produce sounds continuously.
•
Do not install the detector beyond the maximum recommended range, even
if the AFT–100 simulator shows additional range - future changes in room
acoustics could reduce the range.
•
Application on 24 hour loops should be avoided unless the location is
unoccupied.
•
Test false alarm immunity by creating any sounds in the room which will
likely occur when the alarm system is armed.
Note: Test the detector thoroughly for proper placement using the
AFT-100 Glassbreak Simulator. Other simulators may trip the unit, but
will not provide accurate test results.
Testing the detector
Perform the following tests with each WLS912 detector to ensure that it is mounted
in the best possible location.
Detection Test:
1.
Place the detector in test mode by momentarily
pressing down on the tab on the base plate, as
shown. The LED will blink periodically to
indicate that it is operating in test mode. You
can end the test mode by momentarily pressing
the tab on the base plate. Test mode will end
automatically after 10 minutes.
2.
Use double-sided tape to temporarily mount the detector in the selected
location
Note: The detector will not respond to the glassbreak simulator unless
the test mode operation has been enabled by momentarily pressing
down on the test mode tab on the base plate.
3.
At the window to be protected, test the detector using the AFT–100
Glassbreak Simulator. The AFT–100 Glassbreak Simulator generates plate
or tempered glass sounds. Use the plate glass setting if you are unsure of the
glass type. Observe the following when testing the detector:
• If the WLS912 detects the sound generated by the AFT-100 three times in
a row, the detector is in a good location. If the detector does not respond
each time, relocate the detector and repeat the test.
• If the windows in question are covered by drapes or blinds, place the
AFT-100 tester behind the closed window coverings, and then activate it.
If the drapes prevent reliable detection, we suggest that the detector be
mounted behind the drapes either on an adjacent wall or on the ceiling.
• If there are multiple windows, or one large window, activate the tester at
the furthest point on the glass from the detector.
Receiver Test:
You also need to perform a Module Placement Test to ensure that the selected
location is in range of the wireless receiver (see the Placement Test instructions in
the installation instructions for your receiver).
1.
Press and hold the test mode tab for 5 seconds
2.
Release the test mode tab. The keypad will display the test result.
Enrolling the WLS912
On the back of the detector, there will be two serial numbers: a five-digit number
and a six-digit number. Please refer to your receiver installation manual for infor-
mation on which serial number should be enrolled. NOTE: If using a WLS900 sys-
tem, you must use the five-digit serial number.
