ATS Co-Pilot Kurulum Kılavuzu - Sayfa 2
Otomobil Aksesuarları ATS Co-Pilot için çevrimiçi göz atın veya pdf Kurulum Kılavuzu indirin. ATS Co-Pilot 12 sayfaları. For dodge cummins 2003
Ayrıca ATS Co-Pilot için: Kurulum Kılavuzu (15 sayfalar), Kurulum Kılavuzu (12 sayfalar)

improve reliability, whether you have a stock daily driver or a fully built race truck! Give us a
call today if you feel the need to get a fully rebuilt transmission for your truck, or if you just
want to strengthen your current transmission with a few upgraded parts. Our experts can help
answer any questions you have and guide you in the right direction.
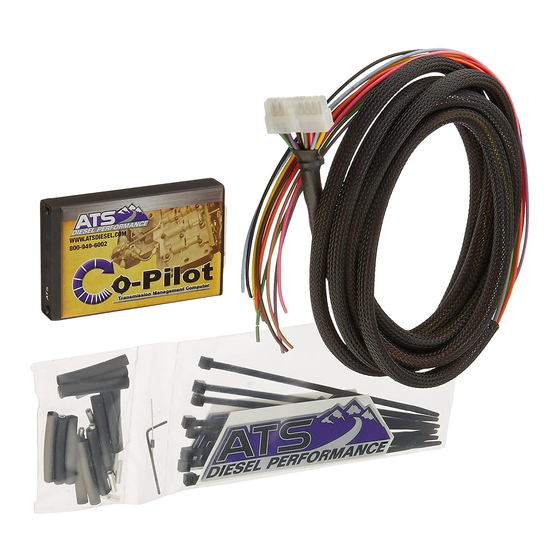
Setting up the ATS Co-Pilot module for installation
The ATS Co-Pilot will need to be set up for your vehicle and application. The Co-Pilot will
need to be disassembled to access the dip switches on the electronic board. You will need a
th
1/16
- inch hex (Allen wrench) to remove the face from the Co-Pilot. After the face has been
removed the electronic board can be slid out of the casing from the front. The digital face is
attached to the circuit board with a ribbon cable; do not force the board from the case. There are
four (4) switches on the circuit board; the switches allow the user to select the features desired.
The settings are listed below. When reinstalling the face on the Co-Pilot do not over tighten the
2 small screws on the face.
Dip switch selection:
---------------------------------------------------------------------------------------------------------------------------------------
Switch #1
Set to OFF position
---------------------------------------------------------------------------------------------------------------------------------------
Switch #2
Set to ON position
----------------------------------------------------------------------------------------------------------------------------------------
Switch #3 - Speed setting
On=low speed cut out
Off= Hi speed cut out
----------------------------------------------------------------------------------------------------------------------------------------
Switch #4
Set switch to ON position
---------------------------------------------------------------------------------------------------------------------------------------
We have preset your module with #1-OFF, #2-ON, #3-OFF, and #4-ON.
