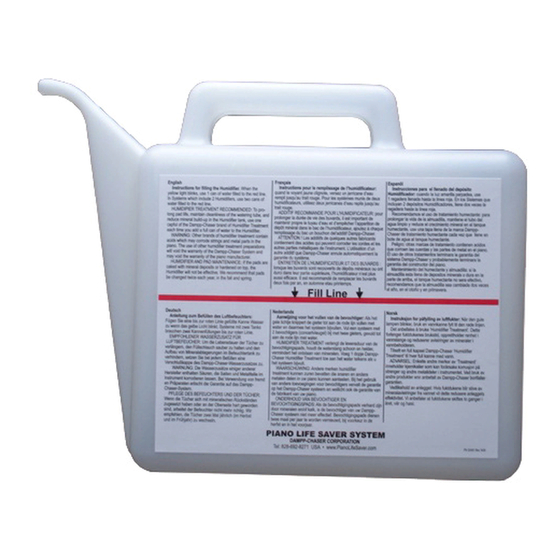
DAMPP-CHASER Piano Life Saver System Kurulum Talimatları Kılavuzu - Sayfa 3
Müzik Enstrümanları İçin Aksesuarlar DAMPP-CHASER Piano Life Saver System için çevrimiçi göz atın veya pdf Kurulum Talimatları Kılavuzu indirin. DAMPP-CHASER Piano Life Saver System 9 sayfaları. Backside vertical 8-part system which includes two humidifiers
Ayrıca DAMPP-CHASER Piano Life Saver System için: Kurulum Talimatları (4 sayfalar), Kurulum Talimatları Kılavuzu (8 sayfalar), Bakım ve Onarım Talimatları (2 sayfalar)

STEP 1. HUMIDIFIER INSTALLATION
You should install the Humidifier first. When you unpack the
System box, you will find several items in the Humidifier tank:
Humidifier pads, the two-light panel, and the watering tube.
Remove the light panel and pads for later use. Uncoil the
watering tube and leave it outside the tank. Make sure the end of
the tube is within the plastic liner inside the tank. Please note the
Water Sensor probes and Humidifier heater bar are attached to
the Humidifier at the factory. The Water Sensor probes are
attached to the Humidifier heater bar mounting bracket at the
middle of the Humidifier (Figure 1).
The Humidifier pads are designed to wick water over the heater
bar, producing warm moist air currents which rise and are cir-
culated throughout the piano. The Smart Bracket sensors
(Figure 2) will signal via a red light when the pads no longer
wick water and require replacement. The Smart Bracket also
turns off the Humidifier heater bar when the pads fail or when the
Humidifier runs out of water.
FIGURE 1
Humidifier with
pads installed
Humidifier placement
Water sensor
probes
attached
to middle
mounting
brackets
FIGURE 3
Mounting the Smart Bracket: You will mount the Smart
Bracket outside the Clean Sleeve
(Figure 2). The Sleeve protects the Heater Bar from corrosion
caused by excessive minerals in the water.
Open the SB package and take out the SB sensors (with
attached C clips) and the red SB single-light cube. Put aside the
light for later. To attach the sensors to the heater bar, slide the
C clips on the SB sensors into the positions shown in Figure 2
and press firmly downward. The sensors on the Smart Bracket
should lie on the top of the heater bar.
Drape the Humidifier pads across the heater bar and push them
down into the tank as shown in Figure 1. If necessary, adjust
the C clips on the SB sensors to insure the pads are in direct
contact with the sensors. Unbundle the cords from the SB, the
Water Sensor probes and the Humidifier heater bar.
Remove the bottom panel of the piano and put the Humidifier
tank on the floor in the bottom corner of the treble or bass end
(Figure 3). Place the tank in the side where the trapwork does
not interfere.
P P P P P AD
AD
AD
AD
AD
Smart Bracket
Heater
Bar
FIGURE 2
NOTE: If the Smart Bracket is not mounted
OUTSIDE the Sleeve, the red "Pads" light
(on the light panel) will blink constantly.
3
©
on the Humidifier Heater Bar
Always mount the
Smart Bracket
probes outside the
plastic Sleeve.
P P P P P AD
AD
AD
AD
AD
