Concourse SMART WHEELS Kullanıcı Talimat Kılavuzu - Sayfa 8
Scooter Concourse SMART WHEELS için çevrimiçi göz atın veya pdf Kullanıcı Talimat Kılavuzu indirin. Concourse SMART WHEELS 16 sayfaları. Remote pairing procedure
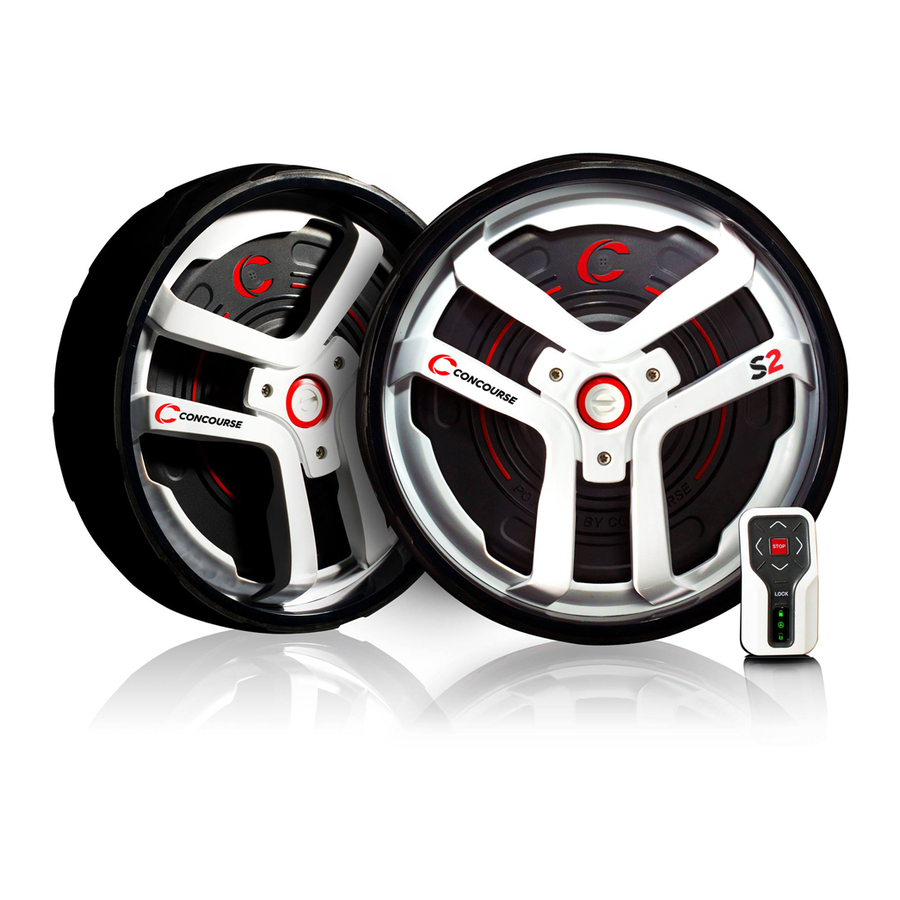
Ayrıca Concourse SMART WHEELS için: Kullanıcı Talimat Kılavuzu (20 sayfalar), Kullanıcı Talimat Kılavuzu (11 sayfalar), Montaj Talimatları Kılavuzu (12 sayfalar), Hızlı Başlangıç Kılavuzu (3 sayfalar)
4.0
CONNECTING THE SMART WHEELS TO YOUR CLICGEAR
4.1 Position your buggy in a safe manner then remove the original
Clicgear buggy wheels by unscrewing the lock-nut. Please
ensure you use a 19mm Ring spanner to avoid damaging the
nut.
4.2 Position your buggy in a safe manor then remove the lock nut
on your original buggy wheel using a 19mm ring spanner and
then remove the Wheel.
19MM RING
SPANNER REQUIRED
1300 650 059 | concoursegolf.com
PUSH
MODELS ONLY
MOST CLICGEAR MODELS
8
4.3 Locate the 2 small metal Smart Wheel Axles – Left and Right
are the same and fit on either side. You will notice for Clicgear
buggies the axles are attached using a lock nut.
4.4 Connect both Smart Wheels axles to your existing push
buggy where you removed the original buggy wheels from as
indicated below.
User Instruction Manual | Version 3.0