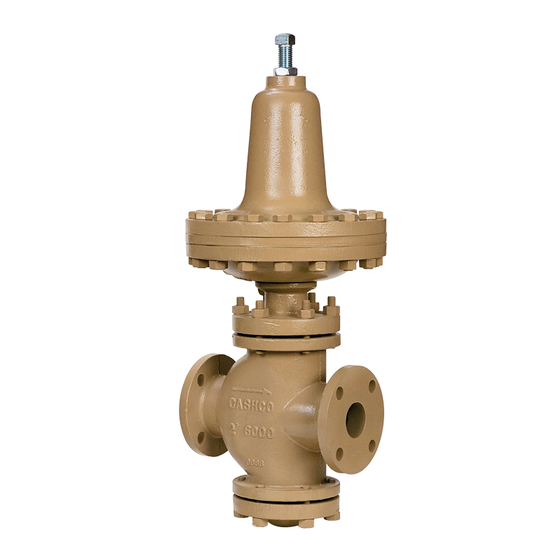
cashco 8310HP-1+6 Kurulum, Çalıştırma ve Bakım Kılavuzu - Sayfa 4
Kontrolör cashco 8310HP-1+6 için çevrimiçi göz atın veya pdf Kurulum, Çalıştırma ve Bakım Kılavuzu indirin. cashco 8310HP-1+6 10 sayfaları. Differential pressure reducing regulators

NOTES: a. Not re mov ing the pusher plate (17) or
rotating the valve plug assembly (12) will pro vide
per for mance equal to orig i nal fac to ry per for mance
when diaphragm(s) (20) is re placed with a like
diaphragm(s) (20). Refer to Section VI.C, steps
12 and 13 for correct diaphragm setting if pusher
plate (17) or stem lock nut (19) is re moved, or valve
plug as sem bly (12) is rotated.
b. Instructions hereafter will refer to: The
-1+6 single di a phragm con struc tion. (The -1+8
di a phragm con struc tion is sim i lar to the 1+6, with
the exception of a second set of diaphragms, a
body spacer (25) and a diaphragm spacer (26)).
Instructions for com po si tion soft diaphragm
applies only to -1+6 op tion).
9.
Remove diaphragm gasket (21) diaphragms (20
and pusher plate gasket (18). Clean gasket sealing
sur fac es thor ough ly.
10. Apply Federal Process Co. PLS-2 (or equivalent) to
both sides of pusher plate gasket (metal diaphragm
only). For composition diaphragm, apply a 1/8"
continuous bead of Dow/Corning RTV 732 (or
equivalent) around the center hole on the underside
of diaphragm.
11. Install new diaphragm gasket (21) on di a phragm
case (14) flange and new pusher plate gasket (18)
on pusher plate. NOTE: No gaskets utilized with
a com po si tion (soft) di a phragm).
12. Position new diaphragms (20) over threaded end
of valve plug assembly (12). Align with bolt holes
on diaphragm case (14). Install o-ring (53).
13. Ensuring that the curved outer rim side of the
pressure plate (22) rests against the diaphragm
(20) directly, place the pres sure plate over threaded
end of the valve plug assembly (12).
14. Apply Loctite 242 (or equivalent) to threads of
pressure plate nut (24) and Install pressure plate nut
on threaded end of valve plug as sem bly (12) and
tighten to a torque value of 75-80 Ft-lbs (101-108
Nm) for metal di a phragm, or 30-35 Ft-lbs (40-47 Nm)
for com po si tion di a phragm. Main tain align ment of
match marks on the valve plug as sem bly (12) with
second match mark on di a phragm case (14) flange.
NOTE: Use two flange bolts (29) to keep multiple
di a phragms' (20) bolt holes prop er ly aligned while
tight en ing pres sure plate nut (24). DO NOT USE
FINGERS TO HOLD DI A PHRAGMS (20) DUR ING
TIGHT EN ING OF PRES SURE PLATE NUT.
15. Set range spring (28) on retainer hub of pres sure
plate (22).
16. Place multi-purpose, high temperature grease into
depression of spring button (27) where ad just ing
screw (32) bears. Set spring button (27) on to range
spring (28); ensure spring button (27) is laying flat.
4
Diaphragm
Model
Material
8310HP
ALL
8310LP
ALL
17. Aligning the match marks from B.3, place spring
cham ber (13) over the above stacked parts.
In stall all flange bolts (29) and flange nuts (30).
Me chan i cal ly tight en bolting (29) (30) in a cross
pattern that allows spring cham ber (13) to be pulled
down evenly. Rec om mend ed torque values are
as fol lows:
NOTE: Never replace bolting (29) (30) with just any
bolting, if lost. Bolt heads and nuts are marked
with specification identification mark ings. Use only
proper grades as re place ments.
18. Reinstall adjusting screw (32) with lock nut (33)
and closing cap.
19. To check for external leaks, spray liquid leak
detector to test around bolting (29)(30), di a phragm
case (14), and spring cham ber (13) flang es
for leakage. Ensure that an outlet pressure is
main tained dur ing this leak test of at least mid-
range spring level; i.e. 10-40 psig (.69-2.8 Barg)
range spring at 25 psig (1.7 Barg) test pressure
minimum.
C. Trim Inspection:
1.
To inspect the internal trim parts, refer to Section
VI.A. and B.1 through 9 for diaphragm re place ment
and proceed as follows.
2.
Secure the "flats" on the threaded end of the valve
plug assembly (12) with wrench, rotate the pusher
plate (17) CCW to remove pusher plate and lower
pressure plate (23). Rotate stem lock nut CCW
to remove. NOTE: Do not rotate the valve plug
assembly (12).
3.
Draw or embed a match mark between body (1)
and bottom flange (3).
4.
Loosen and remove body stud nuts (8) CCW
(viewed from bottom) to remove bottom flange (3).
In spect the bottom guide bush ing (4) for ex ces sive
wear. If worn, both the guide bushing (4) and the
bottom flange (3) must be replaced. NOTE: DO
NOT RE MOVE BON NET (2). The bonnet (2) acts
as a guide to align the valve plug assembly (12)
into the seat rings (10 and 11).
5.
Firmly grasp end of the valve plug assembly (12) by
hand and pull down and out of the body (1) cavity.
6.
Inspect the seating surfaces of the plug (12) for
nicks or excessive wear.
7.
Using a flashlight or other light source, ex am ine the
interior of body (1) cavity. Also, inspect the seating
Bolt
Torque
Size
45 ft-lbs (61 Nm)
5/8" Ø
45 ft-lbs (61 Nm)
1/2" Ø
IOM-8310HP-DIFF
