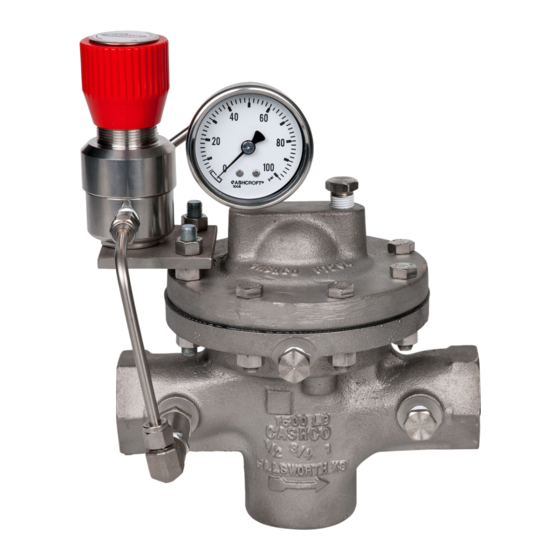
cashco SLR-1 Kurulum, Çalıştırma ve Bakım Kılavuzu - Sayfa 8
Kontrolör cashco SLR-1 için çevrimiçi göz atın veya pdf Kurulum, Çalıştırma ve Bakım Kılavuzu indirin. cashco SLR-1 18 sayfaları. Direct-acting, pressure loaded, pressure reducing regulator with self-relieving loader

Body Size
in
(DN)
1/2" - 1"
(15 - 25)
1 1/4" - 2"
(32 - 50)
2 1/2" - 4"
(65 - 100)
DO NOT allow valve plug (20) to rotate
against seat ring (21) during tightening.
i.
This completes ITA reassembly.
8. Aligning matchmarks and bolt holes, place
cover dome (25) onto body (23).
9.
Reinstall all flange bolts (11) and nuts (12)
with nameplate (99) located under one bolt
head. Hand-tighten nuts (12).
10. Evenly tighten the body bolting (11,12) in an
alternating cross pattern in one revolution
increments to the following torque values:
Body Size
in
(Dn)
1/2" - 2"
(15 - 50)
2 1/2" - 4"
(65 - 100)
G. Converting Internal/External Sensing:
1. Disassemble the regulator and remove the
diaphragm (9) according to Steps 1-12 in
Part B – Main Regulator Disassembly.
2. To convert from internal to external sensing,
remove the drilled pipe plug (33) and install a
solid pipe plug (32). Connect external sensing
line to port 5 on side of the body. Reverse this
step for converting from external to internal
sensing. Disconnect external sensing line.
3. Reassemble the regulator according to Part
F – Main Regulator Reassembly.
H. Pressure Testing:
1. If a hydrostatic pressure test is performed,
pressure must be applied to all three of cover
dome (25), inlet and outlet of body at the same
level.
DO NOT HYDROSTATICALLY TEST WITH-
OUT COVER DOME PRESSURIZED. NOT
AD HER ING WILL DO PHYSICAL DAMAGE
TO INTERNALS THAT COULD REN DER
THE UNIT IN OP ER A BLE.
2. Inboard Leakage Test.
a. Release all loading pressure in cover
dome.
b. Pressurize inlet to 30 psig (2.1 Barg) with
air or GN
8
Torque Value
Ft-lbs
(N-m)
60 - 70
(81 - 95)
120 - 130
(163 - 176)
180 - 200
(244 - 271)
Torque Value
Ft-lbs
(N-m)
30 - 35
(41 - 47)
45 - 50
(61 - 69)
.
2
c. Tube outlet to a beaker of water to ob serve
number of escaping gas bubbles.
Inboard leakage path may be via plug/seat or
dynamic side seal.
3. Pressure Containment Test.
a. Pressurize inlet to 200 psig (13.8 Barg)
and outlet and cover dome to 150 psig
(10.3 Barg) with air or GN
b. Spray liquid lead detector and check all
ex ter nal leak points; i.e. plugged con nec-
tions, di a phragm flange and di a phragm
bolting.
4. Excessive leakage will require disassembly,
examination of sealing elements, correction
of problem, reassembly and retesting.
Figure 5: Location of Auxiliary Ports
.
2
IOM-SLR-1
