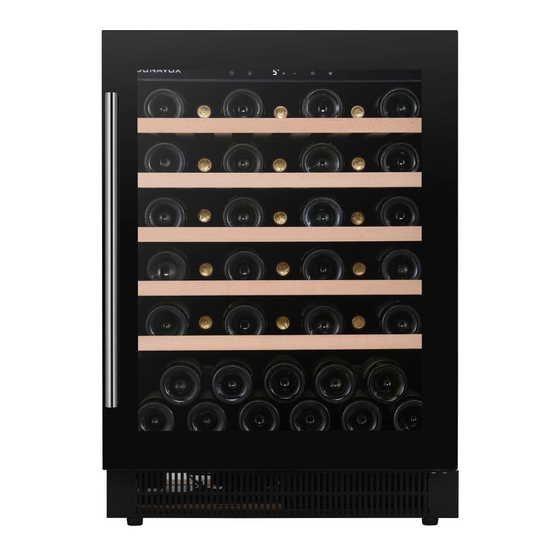
Dunavox DAB-48.125SS Manuel - Sayfa 7
Mutfak Aletleri Dunavox DAB-48.125SS için çevrimiçi göz atın veya pdf Manuel indirin. Dunavox DAB-48.125SS 15 sayfaları.
Ayrıca Dunavox DAB-48.125SS için: Kullanım Kılavuzu (13 sayfalar), Kullanım Kılavuzu (15 sayfalar), Kullanım Kılavuzu (17 sayfalar)

1. Remove the bottom hinge ①, by unscrewing the
four lock screws ②,Be careful to hold the door
firmly after removing the screws.(Fig. 1)
2. Gently pull down to remove the glass door from
the right top hinge and place it on a padded
surface to avoid the risk of damage. Then remove
the right top hinge ⑨, (Fig. 4)
3. Pop out the cover caps on the left side of cabinet
and use them to
cover the screw holes on the right
hand side.
4. Screw the alternative left top hinge ⑧ , included
in the fittings,
on the left hand side of cabinet. (Fig.
4)
5. Unscrew and transfer door supporter ⑩ ,to the
opposite side. At the same time remove the
stopper pin ⑦,of bottom hinge to the opposite
designated position or unscrew and transfer the
hinge pin ⑦
of bottom hinge to the opposite
,a
designated position. (Fig. 5 & 3)
6. Unscrew and transfer the door adapter ⑤ ,and
lock catch ④,to the top designated position of
glass door. (Fig. 2)
7. Rotate the door 180° and relocate the glass door
to the designated position.
bottom hinge on the left designated position and
tighten it. (Fig. 5)
8. Recheck and adjust the door alignment by
loosening the screws ⑥ ,and moving the door
adapter ⑤, Tighten the screws ⑥,after the door
is levelled. (Fig. 5)
DESIGN 4 – For double door models
Remove the bottom hinge ①, by unscrewing the
1.
four screws ②,Be careful to hold the lower glass
door ③ ,firmly after removing the screws. And
then gently pull down to remove the lower glass
door from the middle hinge and place it on a
padded surface to avoid the risk of damage. (Fig.
1)
Then screw the
Unscrew and transfer the door adapter ④,and ⑦
2.
, to the designated opposite position of lower
glass door. (Fig. 2)
Remove the door adapter ⑭, by unscrewing the
two lock screws ⑬, Be careful to hold the upper
3.
door ⑮, from the top hinge and place it on a
glass door firmly after removing the screws. And
then gently pull down to remove the upper glass
padded surface to avoid the risk of damage. Then
remove the right top hinge
⑩,.(Fig. 5 & 4)
Unscrew and transfer the middle hinge ⑫, and
the middle fixing plate ⑪, to the
4.
opposite position. (Fig. 5)
5.
Pop out the cover caps on the left side of cabinet
and use them to
right hand side.
Screw the alternative left top hinge ⑨, included
6.
in the fittings,
on the left hand side of cabinet.
(Fig. 4)
Relocate the door adapter ⑭, on the middle
7.
hinge.
connect the door adapter ⑭, with the upper
8.
Set the upper glass door to the designated
position and install the two lock screws to
glass door and tighten them before the door is
leveled.
9.
Set the lower glass door to the designated
position and reassemble the bottom hinge.
10. Recheck and adjust the lower door alignment by
loosening the screws ⑤, & ⑥ and moving the
door adapter ④,& ⑦, Tighten the screws ⑤, & ⑥
, after the door is levelled. (Fig. 5)
11. Transfer the handles and plugs to the opposite
positions.
OPERATING YOUR APPLIANCE
This appliance is designed for operation at certain
ambient temperatures. The climate class is specified
on the rating plate.
The appliance may not work properly if it is left for a
long period at a temperature outside the specified
range. For example, placing your unit in extreme cold
or hot conditions may cause interior temperatures to
fluctuate. The range between 5ºC and 22ºC (41ºF and
72ºF) may not be reached.
cover the screw holes on the
