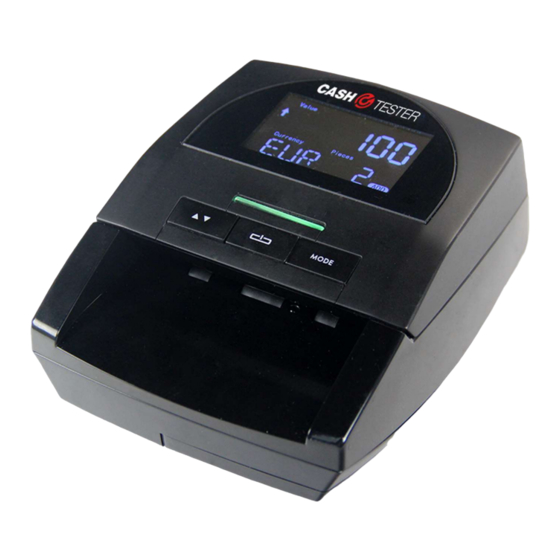
CashTester CT 433 SD Manuel - Sayfa 6
Kasa Sayacı CashTester CT 433 SD için çevrimiçi göz atın veya pdf Manuel indirin. CashTester CT 433 SD 19 sayfaları.

Attention: you must connect the power supply before updating and we recommend removing
the (optional) battery temporarily during this process.
Maintenance and troubleshooting
3.1 Self-test Error Code Display
The detector automatically performs a self-test after power on. If one of the following error
messages is showed on the display window, usually it is because the sensor is blocked by
banknote or dust. Please use a brush or a piece of soft cloth to clean the dust on the sensor or
remove the banknote, and then restart the machine.
Error message display
P01
P02
P03
P04
P05
P06
P07
P08
P10
3.2 Detection Error Code Display
If one of the following error messages is shown on the display window during the process of
detecting, you can handle it as per the error type after the machine is stopped.
Error message display
E09/E10/E11/E12
Important Notices
If the machine keeps alarm or works abnormally, check the following:
Whether the main power supply is within specified range (AC 100V~240V/50~60Hz).
Whether the DC output is within specified range: DC 12V±10%.
Whether the supply plug is well connected.
Whether the built-in battery is sufficient to work.
Keep away from strong magnetism affection.
Clear the dust on the sensors.
The left passing sensor error
The right passing sensor error
The upper left infrared sensor error
The upper right infrared sensor error
The lower left infrared sensor error
The lower right infrared sensor error
The feeding sensor error
The magnetic sensor error
The rotate speed sensor error
E01
E02/ E03
E04/ E05
E06
E07
E08
E14/E22
E20
E24
Cashtester CT 433 SD
- 6 -
Error type
Error type
Length error
Magnetism feature error
IR feature error
Thickness error
Slant note
Hologram error
Paper quality error
Cannot judge denomination
Passing error or top cover is open
UV feature error
