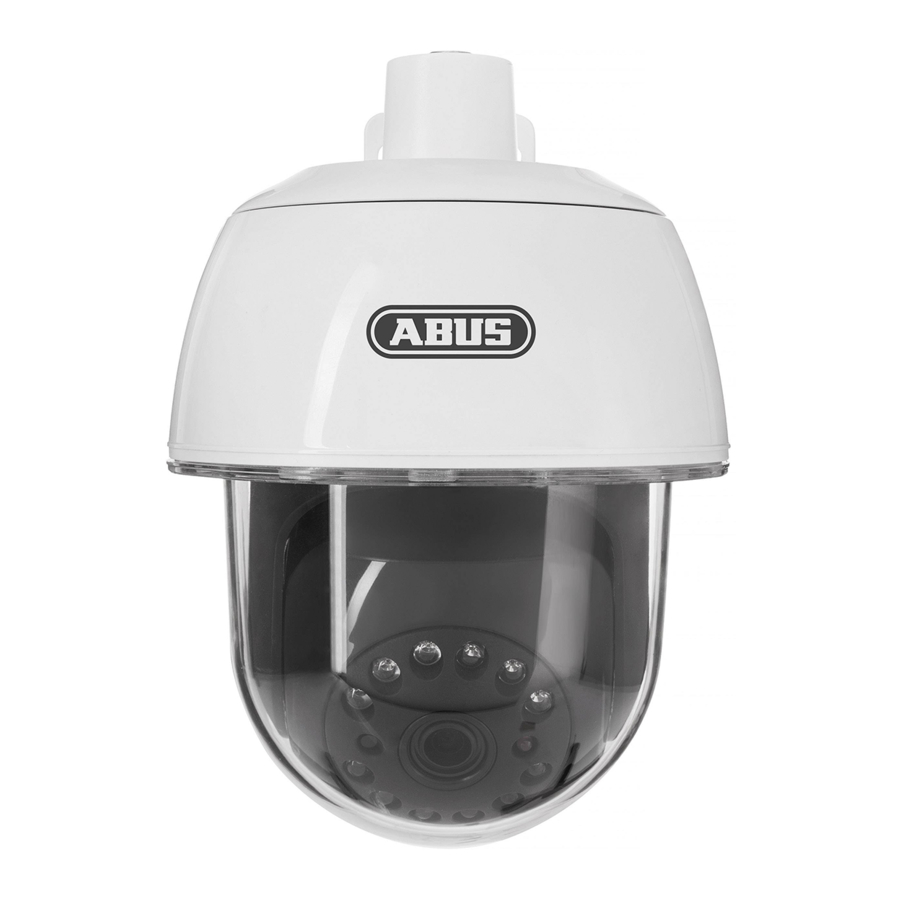
Abus PPIC32520 Hızlı Kılavuz - Sayfa 5
Güvenlik Kamerası Abus PPIC32520 için çevrimiçi göz atın veya pdf Hızlı Kılavuz indirin. Abus PPIC32520 9 sayfaları. Wi -f i pa n/ t ilt o u t d o o r c a me r a
Ayrıca Abus PPIC32520 için: Hızlı Kılavuz (8 sayfalar)

Montage der Kamera: „Aufputz-Installation"
Installing the camera: „Surface installation"
1
Für Rauputz geeignet:
Wird die Kamera auf einer Rauputz-Wand
installiert, verwenden Sie den beiliegenden
EVA-Schaum und kleben Sie diesen auf die
Rückseite der Halterung.
Suitable for roughcast:
The camera is placed on a rough plaster wall
installed, use the enclosed EVA foam and stick
it on the Back of the bracket.
8
2
40mm
30mm
Wenn keine Möglichkeit besteht die Kabel
durch die Wand zu führen, können Sie
alternativ folgende Methoden verwenden:
1. Kabelkanal:
Führen Sie die Kabel nach unten aus der
Halterung heraus. Verwenden Sie einen
Kabelkanal (Breite mind. 40mm, Tiefe mind.
30mm), um die Kabel geschützt zu verlegen.
2. Überputzdose:
Verwenden Sie eine Überputzdose (Breite und
Höhe mind. 105mm, Tiefe mind. 35mm) und
bohren Sie in den Deckel der Dose ein Loch,
sodass das Netzwerkkabel und Stromkabel in
die Überputzdose geführt werden können.
Installieren Sie anschließend die Kamera mit
der Halterung auf den Deckel der Überputzdose.
Installieren Sie die Überputzdose an den
gewünschten Installationsort und schrauben
Sie den Deckel mitsamt der Kamera fest.
If there is no possibility, the cables through
the wall, you can alternatively use the
following methods:
1st cable duct:
Route the cables down out of the Bracket out.
Use one Cable duct (width at least 40mm, depth
at least 30mm) to lay the cables protected.
2. Surface box:
Use a surface box (width and height at least
105mm, depth at least 35mm) and drill a hole in
the lid of the can so that the network cable and
power cord are in the fl ush-mounted box can be
guided. Then install the camera with the bracket
on the cover of the fl ush-mounted box. Install
the fl ush-mounted box on the desired installa-
tion location and screw The lid and the camera.
I N S T A L L A T I O N A P P
I N S T A L L A T I O N A P P
Schritt 1 – App2Cam Plus Soft ware installieren
Step 1 – Install the App2Cam Plus soft ware
1
Installieren Sie die App2Cam Plus
Install the App2Cam Plus
App
- App2Cam Plus -
iOS
Apple App Store
2
Starten Sie die App2Cam Plus und
wählen Sie das Plus aus, um den
Einlernprozess zu starten.
Start the App2Cam Plus and
select the plus to start the
programming process.
Die folgenden Abbildungen wurden aus der iOS App entnommen.
The following fi gures were taken from the iOS app.
Android
Google Play Store
9
