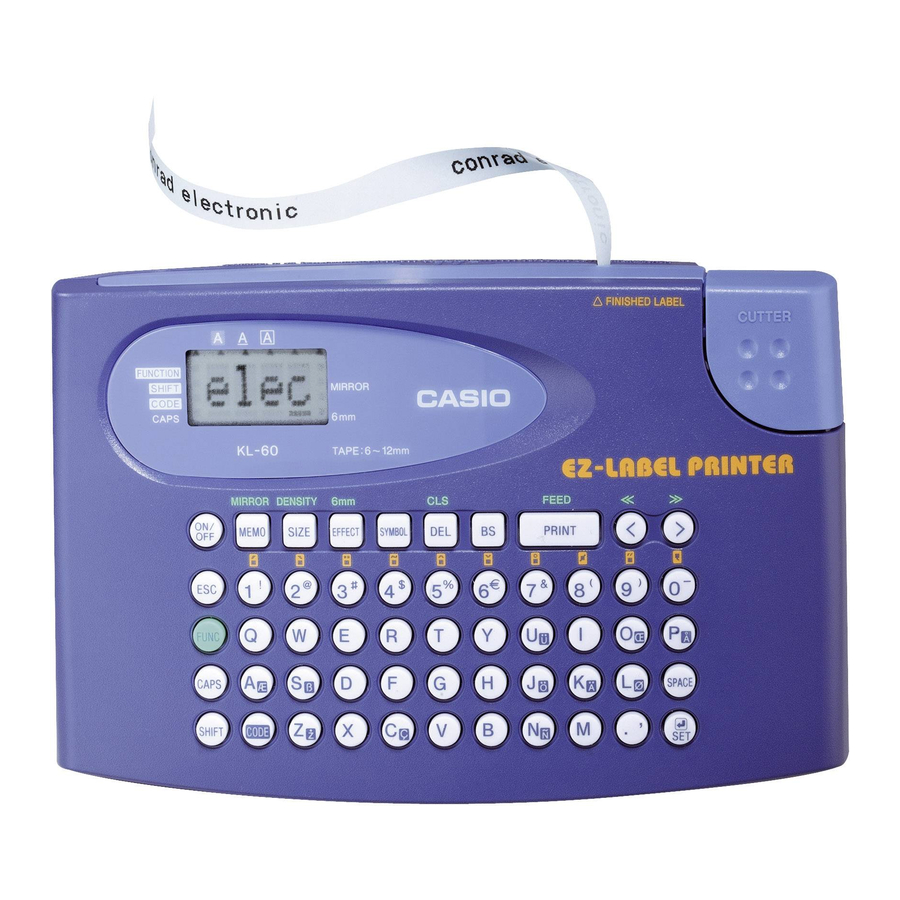
Casio KL-60SR - Compact Label Printer Kullanıcı Kılavuzu - Sayfa 13
Hesap Makinesi Casio KL-60SR - Compact Label Printer için çevrimiçi göz atın veya pdf Kullanıcı Kılavuzu indirin. Casio KL-60SR - Compact Label Printer 20 sayfaları. Casio label printer user's guide kl-60
Ayrıca Casio KL-60SR - Compact Label Printer için: Ürün Kataloğu (16 sayfalar)

Part 6
Printing
This part of the manual includes all the information you need to print tapes.
Printing Precautions
Never turn power off while printing is being performed.
Make sure that the tape outlet is not blocked before you start printing.
Never operate the tape cutter while printing is being performed (indicated by
the message "PRNT" on the display).
During printing at very high density, printing of very long text, or repeat print-
ing of the same text a number of times, the Label Printer may stop printing for
about five seconds. This is not a malfunction, and normal printing should
resume shortly (indicated by the message "P R N T" on the display).
Maximum printing width is 5mm.
Important!
Never touch the tape cutter while a tape cut operation is being performed.
Doing so can result in cuts and other personal injury.
Printing a Tape
Printing a tape is as easy as pressing the PRINT key.
To print a tape
1. Press the PRINT key to print a tape of the text you have input and laid out.
To stop a print operation that is in progress, press ESC.
2. After the print operation is complete, press down on the tape cutter button to
cut the tape.
Do not use excessive force when pressing the cutter button. Doing so can
damage the button or the cutter.
3. Use scissors to trim the tape to the size you want, if necessary.
After you print a tape, you can peel off its paper
backing and stick the tape onto the object you
want. Note that the tape will not stick on coarse,
wet, oily, or soiled surfaces. Also, you should not
try to use the tape where it is exposed to direct
sunlight or rain. Do not stick the tape onto hu-
man skin.
E-12
An easy way to remove the backing from a tape
and expose the adhesive surface is to bend the
tape near one of its ends. This should cause the
tape and its backing to separate, allowing you to
pull them apart.
Mirror Image Printing
When you specify mirror image for text, it is printed in reverse image. Use mir-
ror image when you plan to print on transparent tape, with the printing on the
inside. When viewed through the transparent tape, the text will appear normal.
Normal
Mirror Image
To turn mirror image printing on and off
1. Press FUNC and then MEMO (MIRROR).
2. Press H and J to change the setting shown on the display between ON
3. When the mirror image printing setting is the way you want it, press SET to
A mark appears next to the MIRROR indicator on the display when mirror
printing is turned on.
After you turn printing on, input text and perform the print operation as you
normally do to produce mirror image tapes.
Other Printing Features and Operations
Backing
The following are other operations and settings that you may need to use when
printing.
Tape
Print Density
The print density setting controls how darkly figures are printed on your tapes.
(mirror printing) and OFF (normal).
register it.
OFF
