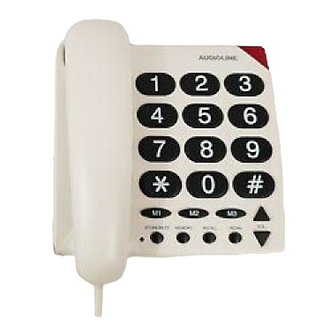
AUDIOLINE PHONE EASY Kullanıcı Kılavuzu - Sayfa 3
Telefon AUDIOLINE PHONE EASY için çevrimiçi göz atın veya pdf Kullanıcı Kılavuzu indirin. AUDIOLINE PHONE EASY 9 sayfaları. Big button telephone
Ayrıca AUDIOLINE PHONE EASY için: Kullanıcı Kılavuzu (9 sayfalar), Kullanıcı Kılavuzu (9 sayfalar)

CONNECTING
# # Connect the line cord to the telephone and to the telephone socket.
# # Lift the handset and check for a dial tone.
WALL MOUNTING
The Audioline Phone Easy can be wall mounted directly onto the standard wall plate
or to the wall by following the instructions below:
# # Mark the position of the two holes 83 mm apart, one above the other.
# Ensure there are no hidden cables, water pipes, etc., before drilling holes. Check
that the intended mounting point is within reach of a telephone socket.
# # Drill the holes.
# # Fit the screws (not supplied) to the wall, leaving 5 mm protruding (use wall plugs if
necessary, not supplied).
# # Place the telephone in position and locate the two holes on the base of the
telephone over the screws, then slide into place.
# The handset hanger hook (item 1 on page 1) must be removed, rotated 180 degrees
and replaced.
TO MAKE A CALL
P Lift the handset and wait for dial tone.
P Dial the phone number.
P Replace the handset to terminate the call.
LAST NUMBER REDIAL
To redial the number called, lift the handset and press the
number will be dialled automatically.
The number will be retained in memory until another number is dialled.
The
button will not operate if the number dialled was from memory.
[REDIAL]
MUTE
To speak privately to a third party while on a call, press the
red LED will flash). When you wish to resume your telephone conversation, press the
button again.
[MUTE]
2
button. The
[REDIAL]
button (the small
[MUTE]
