Audiophony PA AMP1000 Kullanıcı Kılavuzu - Sayfa 9
Amplifikatör Audiophony PA AMP1000 için çevrimiçi göz atın veya pdf Kullanıcı Kılavuzu indirin. Audiophony PA AMP1000 13 sayfaları.

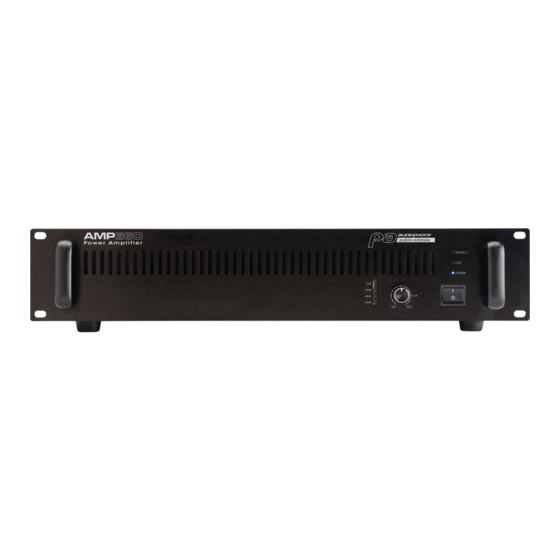
AMP660/AMP1000 - High Power Public Address Amplifiers
1
LED level indicators
These LEDs give an indication of the amplifier's operating
level
When only the -60dB LED is lit, there is no output signal.
2
Volume control knob
This potentiometer adjusts the input signal level from
-60dB to 0dB.
3
Power button
Allows you to turn you device ON/OFF.
The POWER LED is lit when your device is activated.
4
LED indicators
These LEDs indicate the current status of your device:
- POWER: Indicates that the amplifier is powered on.
- CLIP: Indicates that signal levels are too high.
- PROTECT: Indicates that the protection has been
activated because your device of short-circuits or
overheating.
Notes :
-The PROTECT LED usually lights up when turning on
your device.
-If the PROTECT LED remains lit, please turn off your
amplifier, wait for it to cool down, and check the
cables.
-If this LED remains lit upon activation of your device,
and the aforementioned steps have already been
tried, please ask for a qualified technician.
5
Power supply input with fuse
Connect here the supplied IEC cord then connect it to
the mains after making sure the voltages are compatible.
Fuse values
AMP660
T10 AL / 250V
AMP1000
T15 AL / 250V
6
Output terminals
Connect here your speakers or ceiling speakers.
The terminals might be used differently depending on
the installation.
Please refer to next chapter for more details about each
type of installation.
7
Inputs
Connect line level signals to these inputs.
The jack input is unbalanced.
The XLR input is balanced.
8
Outputs
These outputs allow the signal present at the input to be
recovered and sent to another amplifier in cascade.
The jack output is unbalanced.
The XLR output is balanced.
Balanced wiring
2
1
3
3 = Coldspot (-)
Unbalanced wiring
Tip
Body
Français
1 = Ground
2 = Hotspot (+)
Body
Tip
Ground / Shield
+ Signal
Page 9
