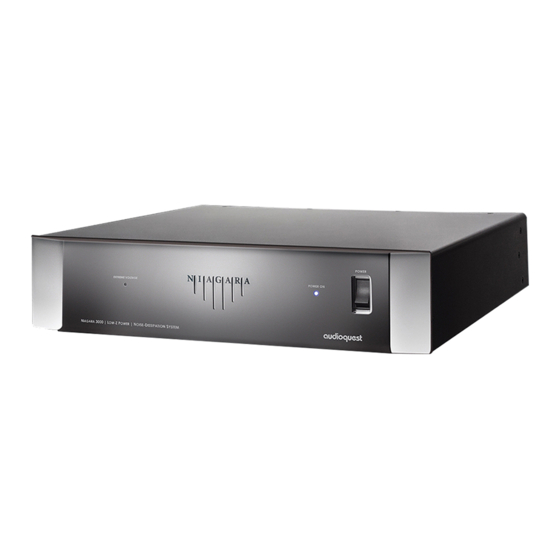
AudioQuest Niagara 3000 Hızlı Başlangıç Kılavuzu
AC Güç Dağıtımı AudioQuest Niagara 3000 için çevrimiçi göz atın veya pdf Hızlı Başlangıç Kılavuzu indirin. AudioQuest Niagara 3000 2 sayfaları. Low-z power noise-dissipation system
Ayrıca AudioQuest Niagara 3000 için: Kullanıcı El Kitabı (20 sayfalar)

N
iagara
|
Low-Z Power
Noise-Dissipation System
Quick-Start Guide
The Niagara 3000 owner's manual contains considerable information to ensure optimal performance, troubleshoot both common
and rare system interactions, and is a great primer to the technology that makes this unit so unique. However, we appreciate and
respect your valuable time. At the very least, we humbly ask that you follow this quick-start guide.
¡ If the Niagara 3000 has been exposed to excessive rain, flooding, fire, or has sustained considerable physical damage, we
ask that the unit be returned. Do not attempt to energize the unit or connect equipment to it!
¡ For proper operation, the Niagara 3000 requires a safety ground (supplied via the power utility AC wall outlet).
¡ The Niagara 3000 may be placed on any table, cabinet, shelf, or floor. When rack-mounting is required, the four threaded
feet may be removed with a standard Phillips screwdriver. A rack-mounting kit and instructions are included with the unit.
¡ Placement or proximity to other components is not critical, and, under standard use, the Niagara 3000 does not produce
any appreciable heat.
¡ Once the Niagara 3000 is placed, an appropriate 15-amp-rated (high-current) AC cord must be connected to the rear-
panel AC inlet (IEC-C14) connector. The AC cord must have an IEC-C13 female-end connector and a grounded male
120VAC Edison/NEMA plug for use in North America or Taiwan. For the best performance and proper Ground-Noise
Dissipation, we recommend AudioQuest AC cords (14AWG and larger: at minimum, NRG-Z3; ideally, Monsoon through
Hurricane).
High-Current/Low-Z Power Banks:
¡
feature our Transient Power Correction Technology and are designed to enhance the performance of power amplifiers
via our circuit's low-impedance transient current reservoir. Power amplifiers, monoblock amplifiers, integrated amplifiers,
powered receivers, or powered subwoofers should ideally be connected to these two outlets. However, compared to
its larger siblings, the Niagara 3000 is unique. Even its Source power banks are capable of passing extraordinarily high
transient current before soft-clipping (in excess of 50 amps peak). So, if you have one or two main power amplifiers and
an additional one to two subwoofers, use the High-Current AC outlets for the power amps. The subwoofers will still yield
great results when connected to any of the five AC source outlets.
Power Correction Switch:
¡
equipment (line-level, digital, video components, or power amplification) that is connected to the Niagara 3000. It may
not function at full capacity otherwise. If necessary, see user manual set-up for more detailed information. (Otherwise,
please place this switch in the ENERGIZED/"1" position.)
¡ Level-X Linear Noise-Dissipation System Power Outlets: Typically, these are for all line-level, digital, and video products.
There are five outlets (labeled "3, " "4, " "5, " "6", and "7") that utilize this technology within the Niagara 3000. Further, outlets
"3", "4", and "5, " and outlets "6" and "7, " employ ground-noise isolation circuits that are independent from each other, and
from the high-current banks.
¡ I hear a slight buzzing sound coming from the Niagara 3000. Is it damaged? No, it's not damaged (or, at least, damage
is very unlikely). If you're in an extraordinarily quiet room and you hear this buzzing sound only when in relatively close
proximity to the Niagara 3000, or only when you place your ear next to the unit, the buzzing is normal and cannot be
entirely eliminated (though easily detectable levels are rare). See the Niagara 3000 manual for detailed information about
high-level harmonic AC line distortion and its ability to make some of the circuits suffer from mechanical ringing, or
magnetostriction. The simple workaround is to set the rear panel switch to "0. "
3000
There are two High-Current/Low-Z Power outlets (labeled "1" and "2"). The outlets
This rear-panel-mounted switch MUST be set in the ENERGIZED/"1" position, regardless of the
