Contacta STS-A31H Kurulum Kılavuzu - Sayfa 4
Amplifikatör Contacta STS-A31H için çevrimiçi göz atın veya pdf Kurulum Kılavuzu indirin. Contacta STS-A31H 8 sayfaları. Window intercom system amplifier

1.
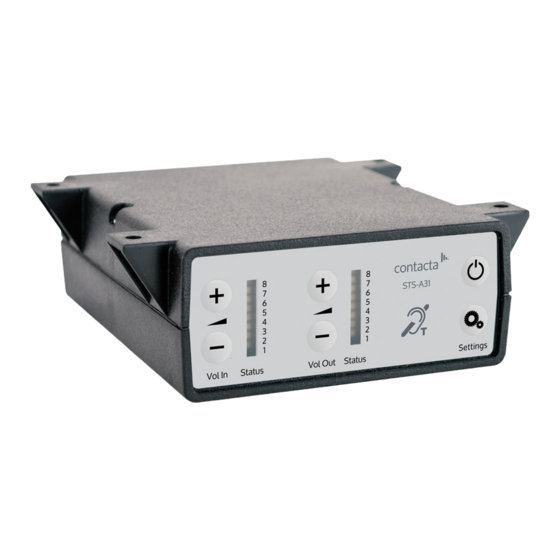
Connect all green plugs to the back of the amplifier, following the
locations printed above the sockets (see diagram on page 3).
2. Power on the amplifier by pressing the On/Off button.
3. When powered and in normal operational mode the amplifier will display
Volume In LED 1 and Volume Out LED 1 as steady green.
4. When the amplifier is switched off, all audio is muted and none of the
LEDs are illuminated. Pressing any button will turn the amplifier on again.
5. Adjust Volume In and Volume Out to a comfortable level for the
environment.
•
Press and hold the Volume In (+) or (-) buttons to increase or decrease
the level. The corresponding LED bar will show the volume setting.
6. Ensure any staff loudspeaker unit is as close to staff as possible.
7. Check the amplifier is fully functional by ensuring the red 'fault' light is
NOT showing on the front.
Fault Diagnosis LEDs
4
Setup
The Amplifier is now set up.
•
Volume In LED 8 will stay red if there is a
fault with the staff loudspeaker unit.
•
Volume Out LED 8 will stay red if there is a
fault with the customer microphone.
•
Volume In LED 8 will flash red if there is a
fault with the loop (i.e. a broken aerial).
Staff
microphone
