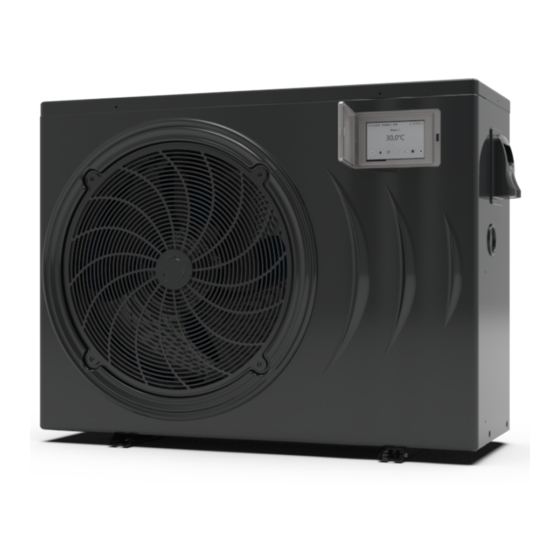
Duratech DURAPRO-12 Manuel - Sayfa 6
Isı Pompası Duratech DURAPRO-12 için çevrimiçi göz atın veya pdf Manuel indirin. Duratech DURAPRO-12 14 sayfaları.

3.7 Condensation
Since the Heat pump cools down the air about 5°C, water may condense on the fins of the evap-
orator. If the relative humidity is very high, this could be as much as several liters an hour. The
water will run down the fins into the base pan and drain out through the barbed plastic condensa-
tion drain fitting on the side of the base pan.
This fitting is designed to accept 20mm clear vinyl tubing which can be pushed on by hand
and run to a suitable drain. It is easy to mistake the condensation for a water leak inside the
unit.
TIP:
A quick way to verify that the water is condensation is to shut off the unit and keep the
pool pump running. If the water stops running out of the base pan, it is condensation. AN
EVEN QUICKER WAY IS TO TEST THE DRAIN WATER FOR CHLORINE - if there is no chlorine
present, then it's condensation.
Do not use means to accelerate the defrosting process or
to clean, other than those recimmended by the
manufacturer.
The appliance shall be stored in a room without
continuously operating ignition sources (for example:open
flames, an operating gas appliance or an operating electric
heater.)
Do not pierce or burn the unit.
Be aware that refrigerants may not contain an odour.
Appliance shall be installed,operated and stored in a room with a floor area larger than Xm3.
NOTE The manufacturer may provide other suitable examples or may provide additional
information about the refrigerant odour.
10
4. Operation and Use
4. Operation and Use
4.1 Display interface introduction
4.1 Display interface introduction
1. Main interface
1. Main interface
1
2
3
2. Button description
2. Button description
NO.
Name
button function
NO.
Name
button function
1
ON/OFF
Start/Stop the unit
1
ON/OFF
Start/Stop the unit
2
Lock screen
Locks the screen
2
Lock screen
Locks the screen
3
Parameters
Acces to parameters
- Set the date & time
3
Parameters
Acces to parameters
4
Clock settings
- Activate timers
- Set the date & time
4
Clock settings
5
Error codes
View error code history
- Activate timers
- Press to activate silent function
5
Error codes
View error code history
6
Silent settings
- Set timing Low speed function
- Press to activate silent function
6
Silent settings
7
Mode
Mode switch interface
- Set timing Low speed function
7
Mode
Mode switch interface
8
Statistics
View temperature and power curve
8
Statistics
View temperature and power curve
9
Water temperature
Mode settings and target temp setting interface
9
Water temperature
Mode settings and target temp setting interface
11
8
9
4
5
6
7
11
