DAPAudio ZA-150 Manuel - Sayfa 8
Amplifikatör DAPAudio ZA-150 için çevrimiçi göz atın veya pdf Manuel indirin. DAPAudio ZA-150 16 sayfaları.

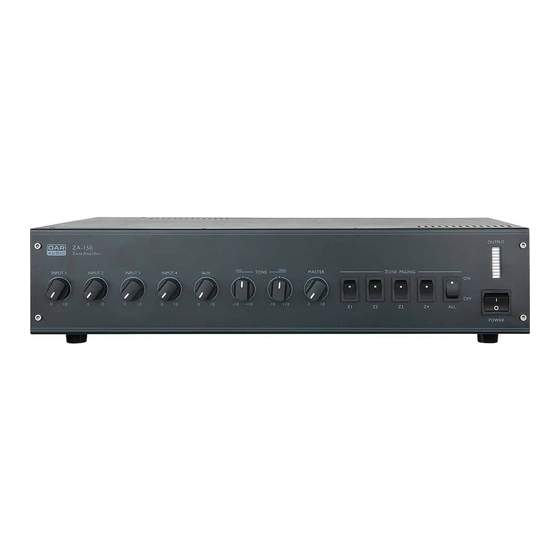
9. Zone buttons
Each zone can be activated or deactivated by pushing the corresponding zone buttons.
10. VU meter
The clip LED indicates peak levels at the output of the amplifier. If the red LED frequently blinks or lights
continuously, the output is likely to enter clipping. If this happens, we strongly suggest lowering the master
(8) control.
11. AC power switch
This is the main Power switch. Push to turn the amplifier on.
Backpanel
Fig. 2
12. Fan
Do not obstruct the air inlet.
13. AC-selector
Before connecting your ZA-150 to the mains, make sure the AC-selector is set to the proper voltage used
in your country. If you're not sure, consult a skilled technician.
14. Terminals
See the next paragraph, terminals on page 8.
15. Monitor level control
Allows you to adjust the volume of the 1W/8Ω monitor (31) output.
16. Telephone paging level control
Use to adjust the input volume level for the telephone paging (34) terminal.
17. Aux impedance/level switch
This switch allows you to set up the match the aux (26) input optimally with the connected device. You
are able to select between aux, CD, tape or tuner.
18. Input 4 impedance/level switch
This switch allows you to set up combo input 4 (27) for line level, microphone level with phantom power or
microphone level without phantom power.
19. Input 3 impedance/level switch
This switch allows you to set up combo input 3 (28) for line level, microphone level with phantom power or
microphone level without phantom power.
20. Input 2 impedance/level switch
This switch allows you to set up combo input 2 (29) for line level, microphone level with phantom power or
microphone level without phantom power.
7
