DAPAudio DCP-24 Manuel - Sayfa 8
Kayıt Ekipmanları DAPAudio DCP-24 için çevrimiçi göz atın veya pdf Manuel indirin. DAPAudio DCP-24 20 sayfaları.

5) Item down button
Pressing the Item down button allows select a parameter for editing in reverse direction.
Input channels:
Link – Limiter – PEQ10 – PEQ9 – PEQ8 – PEQ7 – PEQ6 – PEQ5 – PEQ4 – PEQ3 – PEQ2 – PEQ1 – Highpass -
Lowpass – Gain.
Output Channels:
Link – Phase - Limiter – PEQ10 – PEQ9 – PEQ8 – PEQ7 – PEQ6 – PEQ5 – PEQ4 – PEQ3 – PEQ2 – PEQ1 –
Highpass - Lowpass – Mixer - Gain.
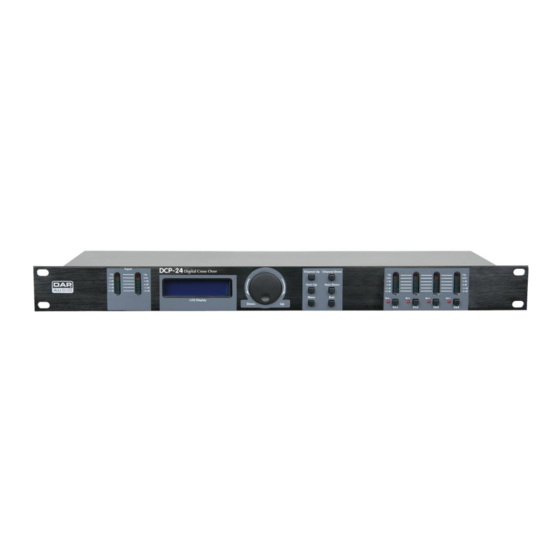
6) Output LED indicators + mute switches
Indicates the output level. Make sure the Clip led only lights up occasionally. The limit led will
light up if the internal limiter is actually limiting the signal. Pressing the mute button will mute the
corresponding input indicated by the channel's mute LED.
7) LCD display
To display functions and operating status.
8) Jog-wheel
Dialing the Jogwheel allows you to change parameters.
Clicking the Jogwheel allows you to enter or confirm.
9) Menu button
Pushing the Item down button allows you to select one of the following menus for editing:
Load – Save – Access level – Version info
10) Exit button
To leave the last menu/step you were in.
Backside
11) Output Sockets
XLR male balanced output.
12) DC Power connector
This connector is meant for the connection of the supplied 6Vdc/800mA power adapter. Use the
supplied adapter only.
13) USB port
USB port for linking the unit with your computer.
14) XLR Input Sockets
XLR female balanced input.
Installation
Remove all packing materials from the DCP-26. Check that all foam and plastic padding is removed.
Screw the equipment into a 19" rack. Connect all cables.
Always disconnect from electric mains power supply before cleaning or servicing.
Damages caused by non-observance are not subject to warranty.
6
