DuraVent DIRECT-TEMP Co-Linear Insert Kit Kurulum Talimatları Kılavuzu - Sayfa 7
Fan DuraVent DIRECT-TEMP Co-Linear Insert Kit için çevrimiçi göz atın veya pdf Kurulum Talimatları Kılavuzu indirin. DuraVent DIRECT-TEMP Co-Linear Insert Kit 16 sayfaları. Selkirk direct vent system

Figure 5
Flex Liners
Existing
Masonry
Chimney
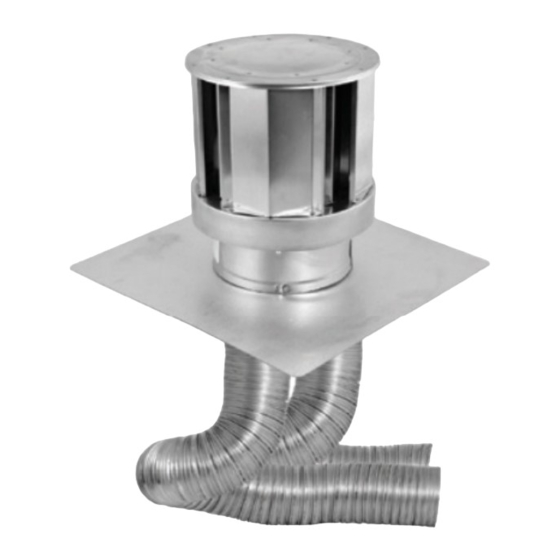
8. Prepare the baseplate of the Co-Linear
High Wind Cap. If it is larger than the top of
the chimney, cut and fold as needed for a
perfect fit. Do not seal in place at this time.
9. Attach the flex liner ends at the top of
the chimney to the Co-Linear High Wind
Cap. Apply high temperature silicone to the
exhaust liner prior to connecting to the Cap.
Secure each length of flex liner to the Co-
Linear High Wind Cap. The small screws
provided with the hose clamps can be used
for extra security per length (Figure 6).
Co-Linear
High Wind
Cap
Baseplate
Hose Clamps
Sheet Metal
Screws
Figure 6
Silicone
Sealant
Note: Diagrams & Illustrations Are Not to Scale.
Co-Linear
High Wind
Cap
Figure 7
10. Apply a bead of silicone sealant to the
top of the masonry chimney prior to securing
the baseplate of the Co-Linear High Wind
Cap to the masonry chimney. Secure Co-
Linear High Wind Cap to masonry chimney
with suitable fasteners (one at each corners)
and cover the heads with silicone sealant
(Figures 6 & 7).
11. Connect both of the flex directly to the
appliance flue collars (Figure 8). See the
appliance manufacturer's instructions for
details. Secure the two Flex Liner runs to
the appliance. The small screws provided
with the hose clamps can be used for extra
security per length. Apply high temperature
sealant on the exhaust side. In any case,
make sure the Flex Liners do not sag behind
the appliance. Finally, move the appliance
into its appropriate place.
Figure 8
Sheet Metal
Screws
Hose
Clamps
Baseplate
7
