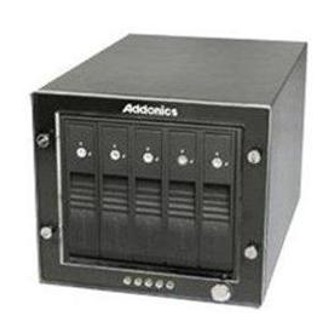
Addonics Technologies RT3DA5HP Kullanıcı Kılavuzu - Sayfa 2
Muhafaza Addonics Technologies RT3DA5HP için çevrimiçi göz atın veya pdf Kullanıcı Kılavuzu indirin. Addonics Technologies RT3DA5HP 8 sayfaları. Raid tower iii

Installing Drive into the RAID Tower III
Step 1
Secure 3.5" SATA hard disk drive into the tray of the disk array using the provided
screws. Slide the drive into the drive bay. Press the button labeled HD1~HD4. These
are the power switches for each of the drives.
Note: It is recommended to fill up the RAID Tower III with SATA drives from top to
bottom. This is to help in identifying which drives connect to which ports for easier
troubleshooting.
Connecting the power cable and RAID Tower III to the
computer
a.
Connect the power cord provided from the wall outlet to the back of the
RAID Tower.
b.
Make sure the power is off (power LED light should be off).
c.
Connect either the provided USB or eSATA cable from the back of the RAID
Tower to the computer. We recommend connecting the eSATA port for best
performance if this port is available on your computer.
Power On/Off Control
Turn on the power to the RAID Tower by pressing the power button on the front. The
power LED light should lit indicating the power is on.
www.addonics.com
Technical Support (M-F 8:30am - 6:00pm PST)
Phone: 408-453-6212
Email: www.addonics.com/support/query/
