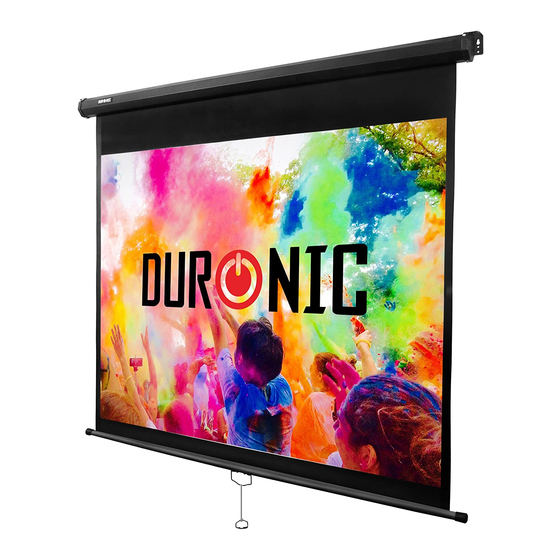
Duronic MPS Manuel - Sayfa 4
Projektör Aksesuarları Duronic MPS için çevrimiçi göz atın veya pdf Manuel indirin. Duronic MPS 19 sayfaları. Manual projector screen

Before Installation
Carefully unpack the screen
-When handling the screen, always keep the projector screen at a level
position on a clean surface.
- In order to protect the screen from exposure and stains, keep the
screen away from dust and liquid.
-Mark the location of where the screen will be installed
NOTE: Never pull the screen out of the case before the screen in
installed. If you do the screen could become damaged and your warranty
will be void.
Methods of Installation
Wall mount
- The screen can be wall-mounted with the fixings
provided. Use the holes to mark the desired position
on your wall. (Ensure that the wall is clean and dust
free)
-Mount the screen from the key hole located on the
back of the screen's left and right end cap.
Ceiling Mount
-Put screws through the mount and into the ceiling
Tripod Mount
-The screen can also be used on a tripod
6
Operating Instructions
Extending the screen
-Extend the screen slightly out from the case using the handle. When you
reach the desired height, gently tug the screen downwards a little and
the screen will automatically be locked into place.
Note: If the screen fails to lock into place, repeat the tugging motion
until it is locked.
Retracting the screen
To retract the screen back into the case, simply pull the screen down
slightly and release the locking catch on the roller. The screen will
automatically roll back into the case by itself. Do not let go of the
screen, rather slowly guide it into the case. This will protect the screen.
CAUTION
Make sure that the screen is extended from the casing gently.
Make sure you retract the screen back into the casing after use. Failure
to do so may result in damage to the locking catch.
Retract
Extend
7
