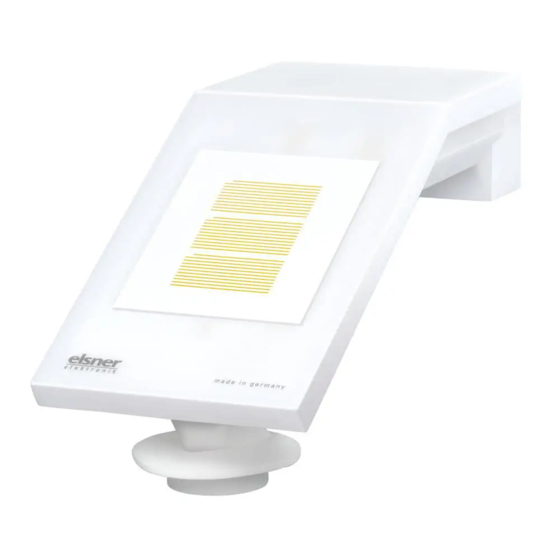
elsner elektronik KNX LW sl Teknik Özellikler ve Kurulum Talimatları - Sayfa 7
Aksesuarlar elsner elektronik KNX LW sl için çevrimiçi göz atın veya pdf Teknik Özellikler ve Kurulum Talimatları indirin. elsner elektronik KNX LW sl 13 sayfaları. Brightness and wind sensor

2.4.1. Preparation for installation
2.4.2. Fitting the lower part with a mounting
Now, first of all, assemble the lower part of the housing with the integrated mounting
for wall or pole installation.
Wall installation
Use fixing materials (dowels, screws) that are suitable for the base.
Longitudinal holes
Brightness and Wind Sensor KNX LW sl • Status: 05.11.2014 • Errors excepted. Subject to technical changes.
7
Fig. 6
Slacken both screws on the lid (top) and low-
er part (bottom) with a size 6 Torx screwdriv-
er.
Fig. 7
Pull the lid and lower part completely apart.
This also releases the plug-in connection be-
tween the board in the lid and the socket in
the lower part.
Fig. 8
The device is installed with two screws. Break
off the two longitudinal holes in the lower
part of the housing.
Installation and start-up
