Auslock Handy Series Kullanıcı Kılavuzu - Sayfa 4
Kilitler Auslock Handy Series için çevrimiçi göz atın veya pdf Kullanıcı Kılavuzu indirin. Auslock Handy Series 12 sayfaları. Smart lock
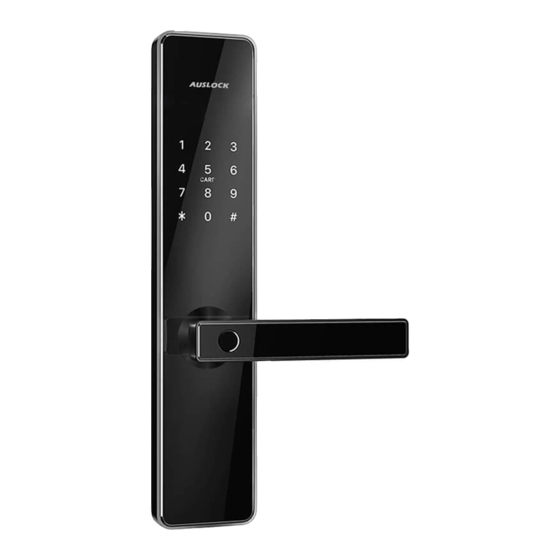
3.2 Installation Diagram
Step 1 Install Mortise
Step 3 Connect Front and Back Panels
Step5 Install the Battery
Step 2 Install Sliding Screw Casing and
Fixed Front Panel
Keep arrow direction (as shown in
image) always upward.
Step4 Install Back Panel
3
The screw casing
place is
adjustable from
55mm to 100mm
far from the
square shaft.
Depending on the
location of the
hole-drilling or the
old door hole.