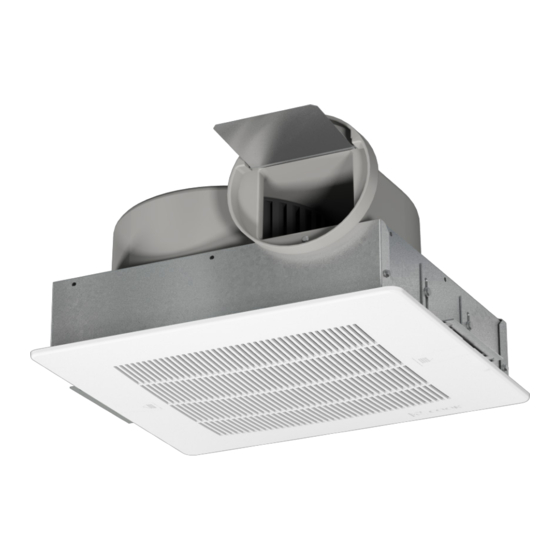
COOK Gemini 2000 Series Kurulum, Kullanım ve Bakım Kılavuzu - Sayfa 6
Fan COOK Gemini 2000 Series için çevrimiçi göz atın veya pdf Kurulum, Kullanım ve Bakım Kılavuzu indirin. COOK Gemini 2000 Series 8 sayfaları. Ceiling and cabinet fans

Gemini 200 - 700 series
To inspect, clean, or repair, refer to the follow diagram
and follow these steps:
1. Remove grille.
2. Remove blower assembly from housing:
a. Disconnect the motor from electrical supply.
b. Remove mounting bolts.
c. Slide discharge flange out of spring clip and
move motor/blower assembly from box.
3. Remove inlet ring from blower housing.
4. Remove blower wheel with an allen wrench.
Blower Mounting Brace
Mounting Bolts
Wiring
Box
Motor
Gemini 800 - 2000 series:
To inspect, clean, or repair, refer to the diagram below
and follow these steps:
1. Remove grille.
2. Remove blower assembly from housing:
a. Disconnect the motor from the electrical supply.
b. Remove motor plate bolts.
c. Slide motor plate and remove motor/blower
assembly from box.
3. Remove inlet rings from blower housing (both sides).
4. Mark the wheel and housing to ensure correct
replacement of blower wheels (one is clockwise and
the other is counter-clockwise), then remove the
blower wheels with an allen wrench.
Wheel
Blower Housing
Inlet Ring
(Ensure proper clearance between wheel and inlet ring)
GEMINI IO&M
Wheel
Unit
Mounting
Bracket
Adjustment
Bolts
Duct Collar
Damper
Blade
Motor Plate
Motor Plate Bolts
Motor
Reassembly
Simply reverse the disassembly instructions. Make sure
the wheel rotates in the same direction as the arrow on the
blower housing. Make sure the wheels do not rub on the
inlet rings. When replacing the motor, make sure the motor
and wheels are properly aligned with the blower housing.
Notice! Ensure that the blower discharge flange is
secured in slot of the cabinet on Gemini 200 - 700
series.
Motor Bearings
Motor bearings are pre-lubricated and sealed. Under
normal conditions they will not require further maintenance
for a period of ten years.
Motor Services
Should the motor prove defective within a one-year
period, contact your local Loren Cook representative or your
nearest authorized electric motor service representative
Troubleshooting
Problem and Potential Cause
Low Capacity or Pressure:
• Incorrect direction of rotation. Make sure the fan rotates
in same direction as the arrows on the motor or belt
drive assembly.
• Poor fan inlet conditions. There should be a straight
clear duct at the inlet.
• Improper wheel alignment.
• Damper held shut by tape.
• Screw attaching duct work to collar interfering with
damper operation.
Excessive Vibration and Noise:
• Damaged or unbalanced wheel.
• Belts too loose; worn or oily belts.
• Speed too high.
• Incorrect direction of rotation. Make sure the fan rotates
in same direction as the arrows on the motor or belt
drive assembly.
• Bearings need lubrication or replacement.
• Fan surge.
Overheated Motor:
• Motor improperly wired.
• Incorrect direction of rotation. Make sure the fan rotates
in same direction as the arrows on the motor or belt
drive assembly.
• Cooling air diverted or blocked.
• Improper inlet clearance.
• Incorrect fan RPMs.
• Incorrect voltage.
6
B51111-002
