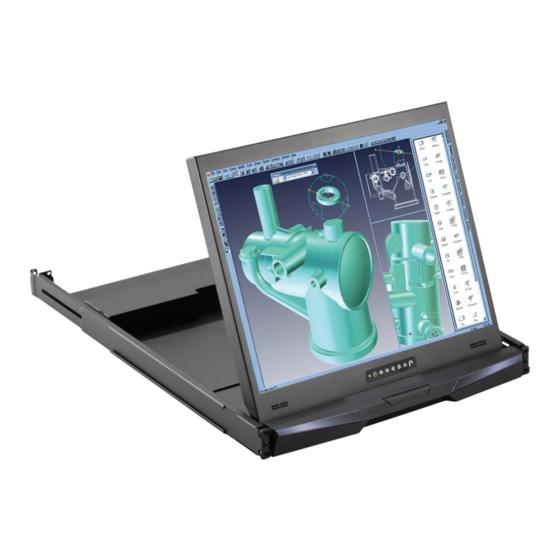
Austin Hughes CyberView RP-120 Kullanıcı Kılavuzu - Sayfa 7
LCD Çekmece Austin Hughes CyberView RP-120 için çevrimiçi göz atın veya pdf Kullanıcı Kılavuzu indirin. Austin Hughes CyberView RP-120 16 sayfaları. 1u lcd drawer
Ayrıca Austin Hughes CyberView RP-120 için: Kullanıcı Kılavuzu (16 sayfalar)

< 1.3 > Installation - How to install 1U 20" LCD Tray
Rear side
Left bracket
Black arrow button
Front side
Rear kit
UM-CV-751-RP-120-Q421V1
Right bracket
Front side
Mounting bracket
M3.2 screw
M6 screw
1
Step
■
Attach the left and right mounting bracket to
rack 19" mounting rails.
■
Adjust the mounting bracket to fi t your rack.
■
M6 screw x 8 pcs included.
Leave all M6 screws slightly loose, until
you complete the installation in step
2
Step
■
Pick up the LCD tray.
■
Insert the LCD tray into the mounting bracket.
■
Pull and hold the left & right black arrow buttons
on the rails.
■
Return the LCD tray to park position.
3
Step
■
Fix the rear kit to the mounting bracket with M3.2
screw x 4 pcs included.
This step is necessary. Failure to complete this
will cause damage.
4
Step
Complete the installation
■
Tighten all 8 pcs of M6 screw to complete the
installation.
P.3
RP-120
3
www.austin-hughes.com
