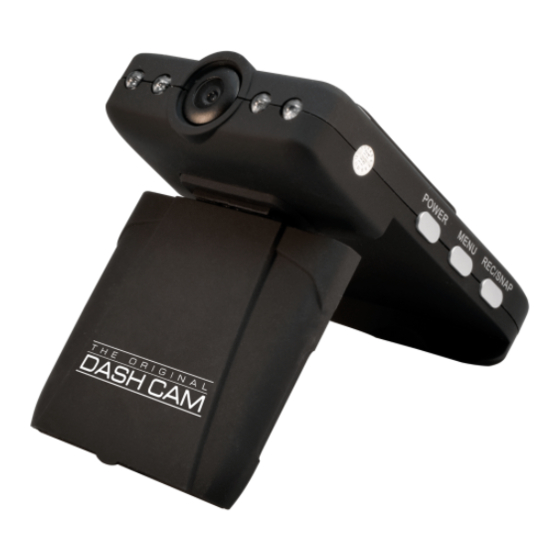
4Sight The Original Dash Cam 4SK98.1 Kullanıcı Kılavuzu - Sayfa 7
Araç Kameraları 4Sight The Original Dash Cam 4SK98.1 için çevrimiçi göz atın veya pdf Kullanıcı Kılavuzu indirin. 4Sight The Original Dash Cam 4SK98.1 9 sayfaları. 4sk98.1

THIS DEVICE SHOULD NOT BE ADJUSTED BY THE DRIVER WHILE
DRIVING. IN THE EVENT OF AN ACCIDENT, DEVICE MAY DISLODGE
AND BECOME UNSAFE FOR PASSENGERS.
Notice
1) Please insert memory card before recording
2) The Original Dash Cam supports memory cards up to 32GB
3) Please attach unit by applying firm pressure to mount before mounting on
surface.
4) Retro loop (video time) is one option under the video output menu. This
function allows the camera to keep filming even after memory full. When
retro looping is activated, old files will be overwritten one by one. In order to
prevent all videos being deleted at once, there are optional retro looping times
under the "video time" settings.
5) When the lithium battery is depleted, the Dash Cam™ screen shows "Batteries
depleted." The camera will shut down automatically after 20 seconds and save
the files automatically.
6) If you need to reset the Dash Cam™, press the RESET button for 3 seconds.
7) If device is displaying in another language, follow these steps:
a.) Power on device
b.) Press the Rec/Snap button to stop recording
c.) Press the "Menu" button (device enters "Video output" menu)
d.) Press the "Menu" button again (device enters "Setup" menu)
e.) Press the "Down" button once and then press the "Rec/Snap" button
this brings you to the "language menu"
f.) Use the "Up" or "Down" buttons until your desired language is
highlighted.
g.) Once your desired language is highlighted press "Rec/Snap" to set the
unit to the highlighted language.
8) For a larger manual size, please visit www.GetDashCam.com to download and
print
9) We are continually making improvements to our instruction manuals, the most
up to date version will always be posted on
Operational Tip:
If your Dash Cam™ is not working properly, please follow the below step:
Slightly press the RESET hole with a pin to have the unit restart and it should
resume functioning properly.
www.GetDashCam.com
7
