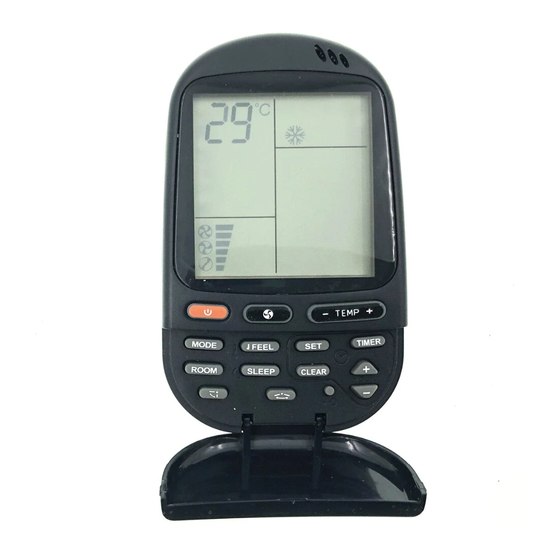
Airwell RC4 Programlama ve Kullanım Kılavuzu - Sayfa 13
Uzaktan Kumanda Airwell RC4 için çevrimiçi göz atın veya pdf Programlama ve Kullanım Kılavuzu indirin. Airwell RC4 14 sayfaları.

AIR DIRECTION OPERATION
1. Automatic Vertical Air Swing
Press button (9) to activate the auto air swing. Press button (9)
again to deactivate this function
2. Air Direction Positioning (See Option 1 on page 2)
Press button (8) to position the air flap to any desired angle.
3. Horizontal air flow control (See Opion 2 on page 2)
A. AUTOMATIC HORIZONTAL AIR SWING
Press button (8) to activate the auto swing
The horizontal swing icon will light on the LCD display
B. MANUAL AIR DIRECTION POSITIONING
Press button (8) once again to position the air blades at any desired
TURNING OFF THE AIR CONDITIONER
Press START/STOP button (1) to turn off the air conditioner. Indicator (B ) on the air
conditioner will be turned off. Indicator (A) will stay lit, indicating that the air conditioner
is in STAND-BY mode and ready to accept any new command from the remote control.
The remote control LCD will display the clock time. The last operating set-up will be
kept for the next operation.
ROOM TEMPERATURE DISPLAY
By pressing on ROOM temperature, button (16), the measured room temperature and
the room temperature sign will be displayed.
To cancel the ROOM Temperature display press on one of the following:
G
Press again on ROOM temperature button (16).
G
Change of MODE button (2)
NOTE: Room temperature range is between 0°C and 36°C in 1°C increments. Display
should show "HI" or "LOW" to represent temperature that is above 36°C or below 2°C.
CURRENT CLOCK TIME SET
Clock setting is performed when batteries are inserted. The remote control displays
the setting and the clock display will blink "0:00" or "12:00" AM (AM sign will blink, too)
till a new time is set.
For clock setting, use buttons (11) and (12) for setting the hours and minutes,
respectively, and then press timer SET button (17). The clock setting can be also
performed by pressing timer SET button (17) for 5 seconds.
The clock display will blink, for new setting follow the steps described above.
LOCK FUNCTION
By pressing LOCK button (19), the remote control will lock the last operation program.
All the function buttons will be inoperative, including START/STOP button. By pressing
LOCK button (19) again the remote control will be released from its locked position.
When lock mode is functioning, the transmission sign (20) will be on.
11
12
