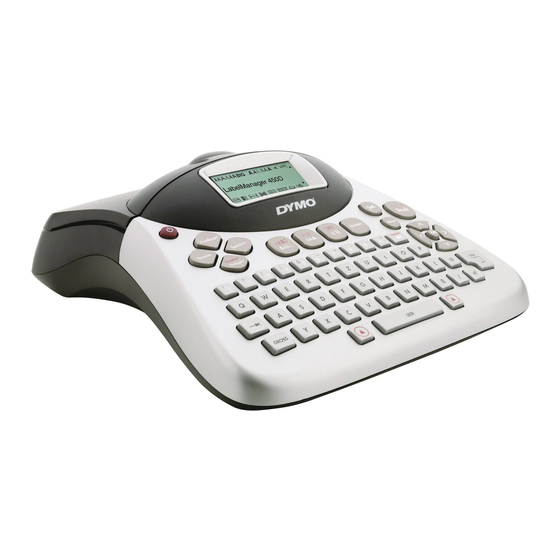
Dymo LabelManager 450D Hızlı Başlangıç
Etiket makinesi Dymo LabelManager 450D için çevrimiçi göz atın veya pdf Hızlı Başlangıç indirin. Dymo LabelManager 450D 4 sayfaları. Dymo labelmanager user's guide
Ayrıca Dymo LabelManager 450D için: Kullanıcı Kılavuzu (19 sayfalar), Kullanıcı Kılavuzu (20 sayfalar), Kullanıcı Kılavuzu (20 sayfalar), Genel Bakış (12 sayfalar)

Follow these steps to install your LabelManager 450D label maker and print your first label.
1. Unpacking your Label Maker
x
Do not connect the label maker into your computer until asked to do so during the software installation.
Unpack your label maker and save the packing materials.
1
Make sure you have all the items shown in Figure 1.
2
User Guide
Quick Start Guide
Warranty booklet
CD-ROM
2. Connecting the Power
The label maker can operate on AC or battery power.
To connect the power adapter
Plug the power adapter into the power connector on the top, left side
1
of the label maker.
Plug the other end of the power adapter into a power outlet.
2
To insert the batteries
Remove the battery compartment cover. See Figure 2.
1
Insert the batteries following the polarity markings (+ and –).
2
Replace the battery compartment cover.
3
Settings
Language
Memory
Preview
Insert
!
,
=
?
–
+
1
2
/
3
4
5
6
7
8
9
E
R
T
Y
U
S
D
F
G
H
CAPS
X
C
V
B
N
SPAC E
Shift
LabelManager 450D label maker
Figure 1
Quick Start
1,2...n
Symbols
Cancel
,
Clear
&
0
P
I
O
L
J
K
Shift
D1 tape cassette
USB cable
Power adapter
Figure 2
