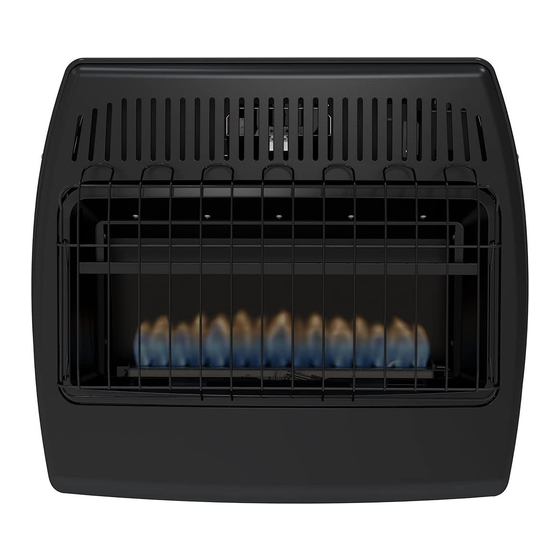
Dyna-Glo BF10DTDG-2 Hızlı Başlangıç Kılavuzu - Sayfa 10
Gazlı Isıtıcı Dyna-Glo BF10DTDG-2 için çevrimiçi göz atın veya pdf Hızlı Başlangıç Kılavuzu indirin. Dyna-Glo BF10DTDG-2 10 sayfaları. Vent-free blue flame gas wall heater

TROUBLESHOOTING
PROBLEM
White powder
residue forming
within burner box or
on adjacent walls or
furniture.
Heater produces
unwanted odors.
Heater shuts
off in use (ODS
operates).
Gas odor exists
even when control
knob is in OFF
position.
Moisture/
condensation
noticed on windows.
Slight smoke or
odor during initial
operation
Heater produces
a whistling noise
when burner is lit.
POSSIBLE CAUSE
1. When heated, the vapors
from furniture polish, wax,
carpet cleaners, etc., turn
into white powder residue.
1. Heater is burning vapors
from paint, hair spray, glues,
etc. See IMPORTANT
statement, page 22.
2. Gas leak. See Warning
Statement, page 23.
3. Low fuel supply.
1. Not enough fresh air is
available.
2. Low line pressure.
3. ODS/pilot is partially clogged.
1. Gas leak. See Warning
Statement at top of page 22.
2. Control valve is defective.
1. Not enough combustion/
ventilation air.
1. Residues from
manufacturing process.
1. Turning control knob to high (5)
position when burner is cold.
2. Air in gas line.
3. Air passageways on heater
are blocked.
4. Dirty or partially clogged
burner orifice.
CORRECTIVE ACTION
1. Turn heater off when using furniture
polish, wax, carpet cleaner or similar
products.
1. Ventilate room. Stop using odor causing
products while heater is running.
2. Locate and correct all leaks (see
"Checking Gas Connections," page 17).
3. Refill supply tank (Propane /LP models).
1. Open window and/or door for ventilation.
2. Contact local gas supplier.
3. Clean ODS/pilot (see Care and
Maintenance, page 22).
1. Locate and correct all leaks (see
"Checking Gas Connections", page 17).
2. Contact customer service.
1. Refer to "Air for Combustion and
Ventilation" requirements, page 7.
1. Problem will stop after a few hours of
operation.
1. Turn control knob to low (1) position and
let warm up for a minute.
2. Operate burner until air is removed from
line. Have gas line checked by local
propane/LP gas company.
3. Observe minimum installation
clearances (Fig. 3, page 10)
4. Clean burner (see Care and Maintenance,
page 22) or contact customer service.
25
