Dynabrade 52450 Manuel - Sayfa 3
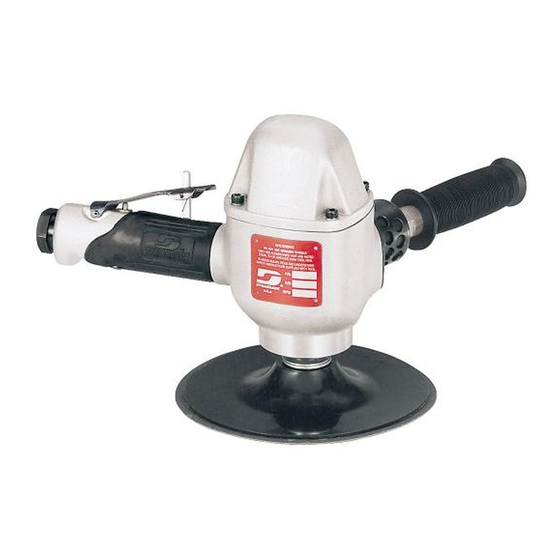
Sander Dynabrade 52450 için çevrimiçi göz atın veya pdf Manuel indirin. Dynabrade 52450 4 sayfaları. Vertical disc sander

Important: Manufacturer's warranty is void if tool is disassembled before warranty expires.
A Motor Repair Kit (96259) is available which contains special tools for disassembly/assembly. Please refer to parts breakdown for part identification.
Tool Disassembly:
1. Disconnect tool from power source.
2. Remove back-up pad with a 24mm wrench (P/N 95304).
3. Insert 01697 Inlet Bushing securely into vise.
4. Roll 07136 Handle Grip Back away from housing.
5. Remove 52495 Nut by using a 32mm wrench (P/N 96079).
6. Separate valve body from housing.
7. Remove 95720 Screws (4) and 01791 Washers (4) from 52461 Housing Cap. Remove housing cap and 52477 Gasket.
Motor Disassembly:
1. Grip onto governor cage assembly and pull motor assembly from housing.
Note: If motor assembly does not come out freely, gently tap tool rotor side down to "pop" motor from housing.
2. Remove governor cage assembly from 52466 Rotor (left hand thread).
3. Insert a tap pin into rear bearing plate and press the 52466 Rotor from the rear bearing plate.
4. Place motor assembly in softjaw vise.
5. Remove 01823 Washer and 01835 Shim from assembly.
6. Remove 01815 Rotor Nut with an adjustable wrench. Twist rotor nut from shaft
7. Remove 52475 Cylinder, blades (4) and spacer from rotor.
8. Remove 52472 Front Bearing Plate , front bearing and shims from 52466 Rotor. Note: Bearing, front bearing plate and spacer are a slip fit into rotor.
9. Press 01036 Bearing from bearing plate.
Motor disassembly complete.
Motor Reassembly:
Important: Be certain all parts are cleaned and in good repair before reassembly.
1. Place 52466 Rotor in padded vise with threaded spindle facing upwards.
2. Slip 52467 Spacer onto rotor.
3. Place .002" shim into front bearing plate as initial spacing and slip 01825 Bearing into plate. Note: 52471 Shim Pak contains .001" and .003" shims.
4. Install bearing/bearing plate assembly onto rotor.
5. Install 01815 Rotor Nut onto assembly.
6. Tighten rotor nut onto rotor, torque 22.5 N•m/200 in. - lbs.
7. Check clearance between rotor and bearing plate by using a .001" feeler gauge. Clearance should be at .001" to .0015". Adjust clearance by repeating
steps 1-5 with different shims if necessary.
8. Once proper rotor/gap clearance is achieved, install well lubricated 52474 Blades (4) into rotor slots. Dynabrade Air Lube P/N 95842 (or equivalent) is
recommended for lubrication before installation in rotor slots.
9. Install cylinder over rotor.
10. Press the 01036 Rear Bearing into 52476 Rear Bearing Plate. Press bearing/bearing plate assembly onto rotor. Be sure that pin and air slot line-up
with pin hole and air inlet slot in cylinder.
11. Place the tool into a soft jaw vise and tighten the governor assembly (52478 Governor Cage) torque 9.0 N•m/80 in. - lbs. (left hand thread).
12. Place 01835 Shim and 01823 Washer into housing.
Mounting Arrangement
Disassembly/Assembly Instructions
(continued on next page)
3
97311 Spacers
(as required)
50277 7" Pad Assy.
50278 Pad
50273 Flange Nut
