GREAT PLAINS 606NT Kurulum Talimatları Kılavuzu - Sayfa 2
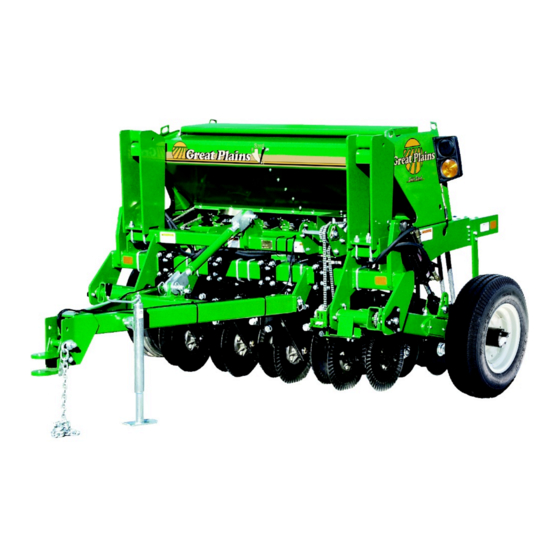
Çiftlik Ekipmanları GREAT PLAINS 606NT için çevrimiçi göz atın veya pdf Kurulum Talimatları Kılavuzu indirin. GREAT PLAINS 606NT 6 sayfaları. Six foot no-till drills
Ayrıca GREAT PLAINS 606NT için: Bakım Kılavuzu (7 sayfalar)
Transporting The Drill:
When transporting the drill, the transport locks should always
be used. This will prevent damage to the drill and possible
personal injury should hydraulic failure occur.
1) To install the transport locks, fully raise the drill and place
the transport lock onto the rod of the cylinder and secure it in
place with a pin and clip.
2) Always disengage the lockout hub before transporting the
drill.
Hitching 606NT To The Tractor:
1) With the drill lowered and tongue jack in the parking posi-
tion, level the tongue, then back the tractor to the drill hitch
and adjust to match the draw bar height. Adjust the hitch
height as needed with the implement jack to match the draw
bar.
2) After hooking the drill to the tractor and attaching the
hydraulic hoses, raise the drill up to the maximum height and
hold the hydraulic lever for 30 seconds to re-phase the cylin-
ders. This procedure will remove any air in the system, allow-
ing the drill to raise and lower evenly. The re-phasing
procedure should be repeated several times a day to ensure
that the drill continues to lift evenly.
Setting Tool Bar Height 606NT: The tool bar height is con-
trolled by a depth stop located on the left lift cylinder.
The suggested initial tool bar operating height is 24 3/4
inches (62.9cm) from the base of the opener tool bar to the
ground, when lowered in the field.
1) In the field, lower the drill to the desired tool bar height and
pull forward to put the openers in the ground.
2) Loosen the nut and bolt that secure the stop weldment to
the cylinder rod.
3) Slide the weldment up the rod until it comes in contact with
the valve actuator, and then slide the weldment an addition
1/8 inch. Tighten the nut and bolt.
4) Raise and lower the drill several times to ensure that the
depth stop is working and pull forward with the drill in the
ground. Check to ensure that the desired depth is achieved.
Re-adjust if necessary.
Document
#DRUS500C-0003A
48738
48710
48739
48740
2 of 6