HiB 32600 Manuel - Sayfa 3
Fan HiB 32600 için çevrimiçi göz atın veya pdf Manuel indirin. HiB 32600 9 sayfaları. Inline fan
Ayrıca HiB 32600 için: Manuel (8 sayfalar), Hızlı Başlangıç Kılavuzu (4 sayfalar)
Mounting - Fascia
1. Ceiling mounted ventilation should be ducted through the roof space, by ducting to an external
soffit under the eaves or grille in the slope of your roof. NB: Ducting installed between a floor and
ceiling can only run between joists, not across them.
2. Mark the position of the vent fascia with a pencil in a suitable position on the ceiling, making sure
that it is between the joists.
3. Drill a 9mm hole through the ceiling anywhere along the edge of the pencil line. Now cut out the
hole with a pad saw.
4. Hold the vent fascia against the ceiling and mark the position of the fixing holes. Fix the unit in
place using suitable heavy duty plasterboard fixings (not supplied).
5. Attach flexible ducting with the metal hose clamps. Ensure that the ducting has a smooth
flow towards the motor body to minimise air resistance. Follow a similar procedure for the
outside wall grille. Extra ducting may be used to extend the distance to the external grille but
performance will be reduced.
Mounting - Fan unit
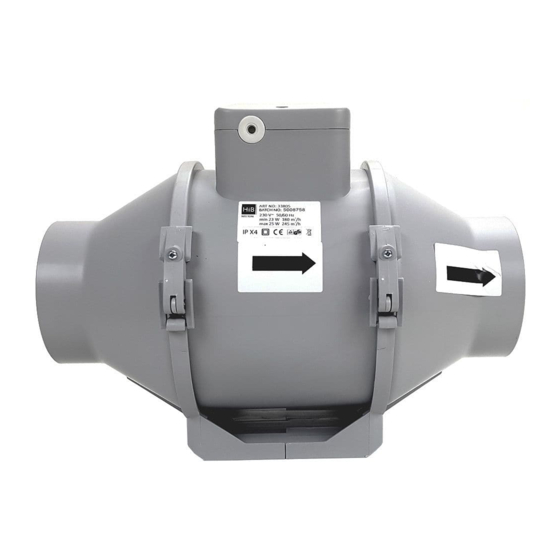
1. Install the Cyclone Inline fan within the loft or ceiling space (ensuring correct direction of air flow
using arrows on the fan). DO NOT COVER motor or LED driver with loft insulation. The fan is
suitable for only horizontal mounting on a wall (fig. A) or a floor (fig. B). When mounting the fan
ensure there is a minimum of 1m straight ducting to the motor body (see fig.B).
g. A horizontal on a wall
2. Using a screw driver, remove
screws on clips.
min 1m
g. B horizontal on a oor
3. Remove bracing clips & remove central unit.
Do not mount vertically
hib.co.uk
3