DaytonAudio BS36 Kullanıcı Kılavuzu - Sayfa 2
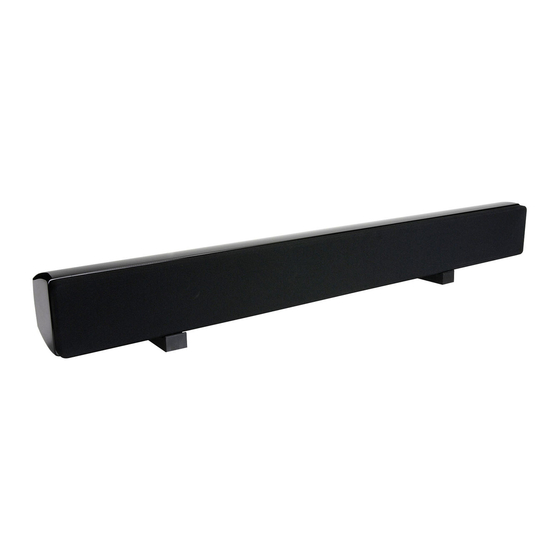
Konuşmacılar DaytonAudio BS36 için çevrimiçi göz atın veya pdf Kullanıcı Kılavuzu indirin. DaytonAudio BS36 2 sayfaları. 36" lcr speaker bar

Thank you for purchasing the Dayton Audio
Bar. This small-but-mighty speaker bar combines left, center and right channel
speakers into a single convenient mountable bar that can be positioned above or
below a wall mounted flat panel display or sit free-standing. When combined with a
pair of Dayton Audio
SAT-BK satellite speakers and a powered sub, like the Dayton
®
Audio
SUB-80, you'll have created a big sound, compact-sized surround sound
®
experience that will impress family and friends.
Key Features
The BS36 uses long-excursion 3-3/4" paper cone woofers for superb dynamic impact
and bass extension. Three 5/8" aluminum tweeters provide superb, realistic highs. High
gloss black lacquer finish adds style to any décor. Easy installation. Packaged with a
pair of rubber speaker feet for table top mounting.
Note: Keyhole slots and M5 threaded inserts (spaced for 16" on-center studs) provide
additional mounting options. Wall mounting hardware sold separately.
Specifications:
•Three 3-3/4" paper cone woofers
•Three 5/8" aluminum tweeters
•Power handling: 50 watts RMS/80 watts max
•Impedance: 8 ohms
•Frequency response: 100-20,000 Hz
•SPL: 87 dB 1W/1m
•Dimensions: 4-3/4" H x 37" W x 4-1/4" D
•Weight: 15 lbs.
Typical wiring of the BS36 LCR speaker bar
Fig. A
Tabletop mounting of BS36 LCR speaker bar
Fig. B
BS36 LCR (Left, Center, Right) Speaker
®
Optional wall mounting of BS36 LCR speaker bar using bracket mounting system
(available separately)
Step 1: Attach small bracket to left and right pre-drilled pilot hole positions as shown
using supplied screws.
Step 2: Identify mounting location and attach wall bracket to the wall using supplied
drywall screws. Do not use nails. Attach one end first then pivot until bubble
is level. Mark holes and install remaining screws. When using the supplied
"Wall Dog" screws it is not necessary to locate a wall stud.
Step 4: Attach speaker wires as shown in Figure A.
Step 5: Remove bubble level and hang BS36 on wall bracket. BS36 can be moved
side-to-side for precise positioning.
