Gainlab Audio BISHOP Hızlı Başlangıç Kılavuzu - Sayfa 9
Sentezleyici Gainlab Audio BISHOP için çevrimiçi göz atın veya pdf Hızlı Başlangıç Kılavuzu indirin. Gainlab Audio BISHOP 10 sayfaları.
Ayrıca Gainlab Audio BISHOP için: Manuel (15 sayfalar)

1.
Connect the two Bishops using the Jack-Jack cable.
2.
Set the Character and Time Constant rotary
switches to the same position on both units.
3.
On one unit, leave the Threshold and 2ND Slope
knobs in their default positions, while on the other
unit, adjust the desired reduction values for both
slopes.
As a result, both Bishops will display similar reduction values, depending
on the signal entering the compressors, of course.
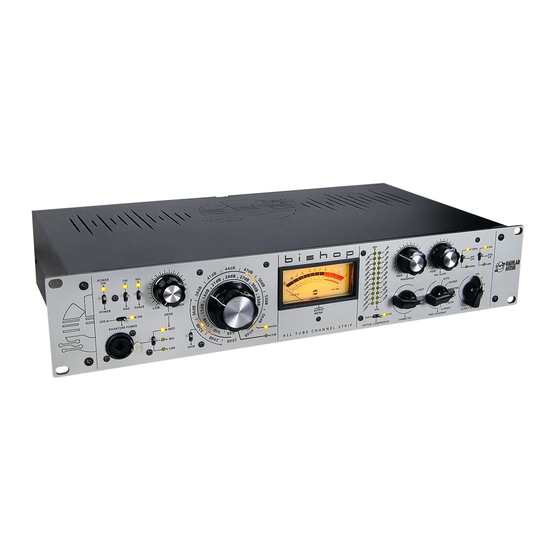
OUTPUT ATTENUATOR
Oa
Located below the tone control section is the rotary
switch for the output attenuator.
create a -12dB attenuation in 5 steps on the Bishop's
output.
This can often be useful, for instance, to
compensate for the gain reduction caused by the
compressor. By adjusting the preamp's Gain control
upwards while using the output attenuator, and then
depending on the compressor's gain reduction,
turning down the output attenuator, we can achieve
the output level before compression.
SC. LINK
OUTPUT
OUTPUT
SC. LINK
This allows us to
SIGNAL
GROUND
SIGNAL
GROUND
LINE INPUT
MIC. INPUT
LINE INPUT
MIC. INPUT
