Celestron CG-3 Kullanım Kılavuzu - Sayfa 12
Teleskop Celestron CG-3 için çevrimiçi göz atın veya pdf Kullanım Kılavuzu indirin. Celestron CG-3 20 sayfaları. Telescope and equatorial mount

northern horizon. All a latitude scale does then is to point the polar axis of the telescope at the
right elevation above the northern (or southern) horizon.
4.
Release the DEC lock knob and move the telescope so that the tube is parallel to the polar axis.
When this is done, the declination setting circle will read +90°. If the declination setting circle is
not aligned, move the telescope so that the tube is parallel to the polar axis. In the case of the G-3
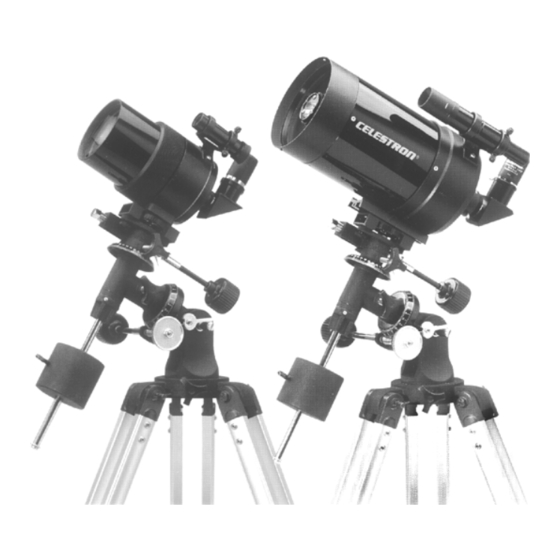
telescope, loosen the knob under the mounting plate (see figure 1) and slowly move the tube side-
to-side on the mounting plate until Polaris is seen in the finderscope. Then secure the tube to the
mounting plate by tightening the knob.
5.
Using the altitude and azimuth adjustment screws, move the mount until Polaris is in the field of
view of the finderscope. Rough adjustments in azimuth can be made by moving the tripod.
6.
Center Polaris using the altitude and azimuth controls. Remember, do not move the telescope in
R.A. and DEC. You want to adjust the direction the polar axis is pointing and you are using
the telescope to see where the polar axis is pointing.
You are now polar aligned well enough to use your setting circles to find faint deep-sky objects. If you are
using a motor drive, a star should remain in the field of view of your eyepiece while you are observing. If
you will be doing astrophotography, more precise polar alignment will be necessary. Details on more
accurate polar alignments can be found in many astrophotography books or contact Celestron's technical
support.
Aligning the R.A. Setting Circle
Before you can use the setting circles to find objects in the sky you need to align the R.A. setting circle.
The declination setting circle is aligned during the process of polar alignment.
In order to align the R.A. setting circle, you will need to know the names of a few of the brightest stars in
the sky. If you don't, they can be learned by consulting the List of Bright Stars at the end of this manual or
using the Celestron Sky Maps (#93722).
To align the R.A. setting circle:
1.
Locate a bright star near the celestial equator. The farther you are from the celestial pole the better
your reading on the R.A. setting circle will be. The star you choose to align the setting circle with
should be a bright one whose coordinates are known and easy to look up.
2.
Center the star in the finderscope.
3.
Look through the main telescope and see if the star is in the field. If not, find it and center it.
4.
If your telescope has a motor drive, start it now so that it will track the star.
5.
Look up the coordinates of the star.
6.
Rotate the circle until the proper coordinates line up with the R.A. indicator (the zero mark on the vernier
scale). The R.A. setting circle should rotate freely. For finding objects in the northern hemisphere, use the
outer ring of numbers on the setting circle; for the southern hemisphere use the inner ring of numbers.
NOTE: Because the R.A. setting circle does NOT move as the telescope moves in R.A., the setting circle
must be aligned each time you want to use it to find an object. This holds true even if you are using the
optional motor drive. However, you do not need to use a star each time. Instead, you can use the
coordinates of the object you are currently observing.
12
