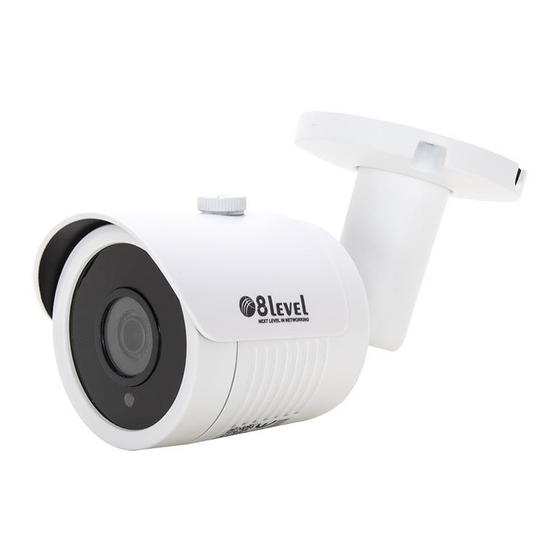
8level IPEB-2MP-28-1 Hızlı Kurulum Kılavuzu - Sayfa 4
Güvenlik Kamerası 8level IPEB-2MP-28-1 için çevrimiçi göz atın veya pdf Hızlı Kurulum Kılavuzu indirin. 8level IPEB-2MP-28-1 4 sayfaları.

LOGIN TO THE CAMERA
1. Run the "IP search tool" to invoke the search window. Click "search" to search for the network address
of the connected camera.
2. In the list of searched IP devices, double-click the camera you want to use. The web page will open
automatically. The first time you start, you need to install the ActiveX plug-in.
3. After the installation is complete, refresh the web page to log in to the camera. Default values: user:
admin, password: admin
CONNECTION VIA MOBILE APPLICATION
1. Download and install the FreeIP PRO application on your smartphone. You can do this by scanning
the QR codes below or download using the given links to websites
2. Adding devices.
Start the FreeIP PRO application (new users must set up their profile) then add a new device via a QR
code.
LIVE PREVIEW AND PARAMETER CONFIGURATION
1. Enter the user name and password for the IP camera in the user field in the web browser. At this
moment, a preview of the live image from the camera appears.
2. Click "Configuration" to enter the configuration settings for the camera. You can configure an option
such as: local settings, system, local network, video, image, events.
CONNECTION TO THE RECORDER
Connect the IP camera to the network using a network cable. Make sure that the IP address of the
camera and DVR are on the same network segment and do not conflict with other IP addresses on this
network.
1. In the recorder menu, click "Camera" to open the add cameras tab.
2. Click "Add" to search for connected IP cameras.
3. In the list of searched devices, select the camera you want to add by clicking the "Add" button
WE DECLARATION
