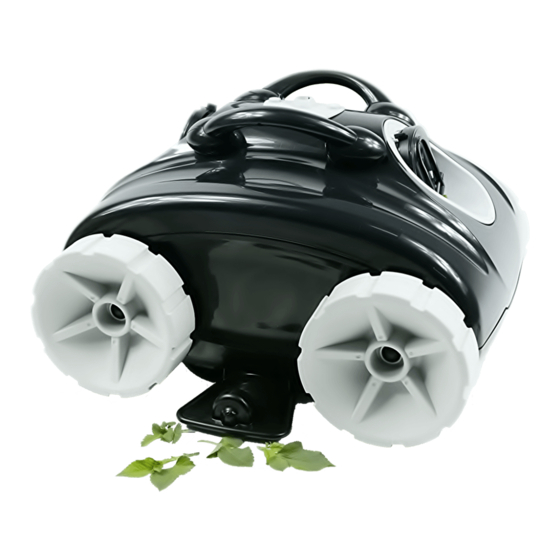
8STREME 5222 Series Kullanım Kılavuzu - Sayfa 7
Yüzme Havuzu Vakumu 8STREME 5222 Series için çevrimiçi göz atın veya pdf Kullanım Kılavuzu indirin. 8STREME 5222 Series 9 sayfaları. Above ground automatic swimming pool cleaner
Ayrıca 8STREME 5222 Series için: Manuel (18 sayfalar)

08 Side suction
09 Cleaning the impeller
NOTE:
A pair of side suction flap is
provided to increase the
vacuum path width up to 16 in.
Use this side suction flaps only if
your pool has good flat bottom
without pool liner pleats
otherwise will slow down the
pool cleaner robot significantly
or even stop the cleaner robot
from moving.
8.1: Flip the pool cleaner robot
upside down
NOTE:
Some debris can block or become
wrapped around the impeller of
the pump. By force, these debris
can hinder the proper
functioning of the robot or even
damage the motor.
Regular visual inspection is part
of the normal maintenance of the
robot.
9.1: Remove the flap assembly
to clean the dirt or hair on
impeller
Page 12
8.2: Place the flaps onto the pool
8.3: Then tight it up by the screw
cleaner robot as shown.
provided
9.2: Use a flat screw driver to ply
9.3: Snap the flap assembly back
the flap assembly out as shown
after cleaning
10 Troubleshooting
PROBLEM
- Air is trapped inside the robot.
The robot floats on the surface.
- Use of fine filter insert.
The robot does not clean all areas of the pool.
- Not enough/ too much cable floating in
the pool
- Improper directional settings and or speed
settings
− The robot does not receive enough power
The robot does not recover debris during operation.
− Basket clogged / full
Fine particles (dust or dirt, pollen ... ) are ejected by
− An object is stuck in the impellers or the
the impeller.
gills located in front of the impeller.
− Debris are too fine, the robot is made to
pick up the particles more than 50 microns
(with the fine filter inside the basket)
CAUSE(S)
SOLUTION(S)
- When you put the robot in the pool, let it sink
and reach the floor before you turn it on. If it
does not sink, turn the robot upside down and
shake to remove any air bubbles.
- If you use an optional fine filter, remove the filter
from its plastic wrap, immerse the filter in the
water so that it is already wet before you Put it in
the robot and let the robot settle on the floor
before you turn it on. Then turn the robot
upside down in the pool and shake to remove
any trapped air bubbles.
- Make sure the length of floating cable
introduced in the pool is just the required length.
- Remove any excess cable length from the pool
and leave this excess length outside the pool
next to the power supply box.
- Insert the robot at the center point of the pool.
If your pool is oval or rectangular, this point is the
middle of the length.
- Check the setting of the cleaner directional
system on page 10 section 6.1 to 6.3
-
Check the connection of the cables.
-
Clean the basket and filter panel. Clean the fine
filter if you use this accessory.
-
Check if the basket is properly inserted. (See
chapter Cleaning of the filter basket).
-
Check that there are no foreign objects in the
impellers or blocked in the gria in front of the
impellers
- Check the attachment of the basket, press it if
necessary to lock it.
- Use a fine filter (check item number on the parts
drawing 19, sku 51390filters) on the
other hand do not forget that it is the filtration of
your swimming pool which ensures the cleaning of
the particles of less than 50 microns.
