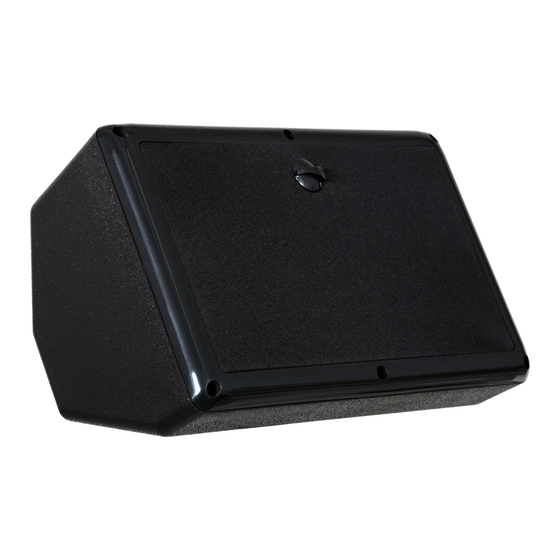
Galaxy Audio MICRO SPOT VC Kullanıcı Kılavuzu - Sayfa 13
Konuşmacılar Galaxy Audio MICRO SPOT VC için çevrimiçi göz atın veya pdf Kullanıcı Kılavuzu indirin. Galaxy Audio MICRO SPOT VC 20 sayfaları. Powered micro spot

- 1. Table of Contents
- 2. Welcome
- 3. Before You Begin
- 4. Ohm's Law and the Hot Spot
- 5. Sound Reinforcement Basics
- 6. Hot Spot Series/Micro Spot VC
- 7. Powered Hot Spot (Pa5X140)
- 8. Using the Pa5X140
- 9. Rear Panel
- 10. Using the Hot Spot with the Pa5X140
- 11. Stand Mounting
- 12. Mounting Your Micro Spot Series Speakers
- 13. Specifications
- 14. Warranty
- 15. Registration
MOUNTING YOUR MICRO SPOT SERIES SPEAKERS
The Micro Spot VC comes equipped with a stand mount bracket kit.
Wall mount options are available for the Micro Spot VC from any
Galaxy Audio dealer, or online at
Stand Mounting
To install the yoke bracket, attach the SA-1 to the yoke bracket
using the included ¼-20 hex bolt and washer as shown in picture
below (A.1). Tighten using a 7/16 wrench or socket. The yoke
bracket assembly can now be screwed on to the microphone
stand. Remove the two plastic threaded inserts from the T-nuts in
each side of the Micro Spot with a small flat blade screwdriver.
Place the Micro Spot into position so that the wing screws at the
ends of the yoke line up with the T-nuts in the cabinet. Tighten the
wing screws by hand.
(A.1)
www.galaxyaudio.com
(SA-1)
Stand Adaptor
Page 11
