969.Coffee Artika Manuel - Sayfa 5
Kahve Makinesi 969.Coffee Artika için çevrimiçi göz atın veya pdf Manuel indirin. 969.Coffee Artika 7 sayfaları.
Avoid the use of adapters, multiple sockets, and/or extension cords. If necessary, use only materials which comply with the
safety regulations in force.
If the power cord deteriorates, have it replaced by an authorized aftersales service center.
Be careful not to block the air vents.
Electrical connections
connect the cable supplied together with the espresso maker to the mains, after fitting a safety circuit breaker with
suitable protection fuses in between.
Hydraulic connections
Make sure the water pressure does not exceed 4 atm (44 psi).
If it does, install a pressure reducer which limits it to the same value or lower.
Connect the steel-coated high pressure pipe supplied with the machine to the hydraulic system or to the water softener
(if any) installed upstream.
Fitting a water softener is highly recommended in order to prolong the machine life and to prevent scale deposits.
Upon request, the machine can be equipped with a water softener
Connect this steel pipe to the coffee maker water intake located under the lower basin on the right side.
After having completed the water intake connection, connect the rubber drainage tube (supplied with the machine)
from the small black plastic basin located under the trays to the drainage pipe positioned under the surface.
Make sure the tube is not clogged in order to prevent damage to the machine from overflowing water. For the same
reason, avoid curves that are too sharp and incline it enough to ensure the regular down flow of draining water.
Brewing with a blind filter, make sure the pressure indicated by the pressure gauge does not exceed 9 atm (132 psi). If it
does, adjust the pump (fitted on the back of the machine on the right).
Use
Before each use or if the coffee maker does not work, make sure that:
-
the power cord is plugged in and mains power is available to the unit;
-
the coffee switch must be in position 1. The machine fills the boiler until the water level reaches the probe,
completely covering the heating element.
After filling, the machine turns on automatically the heating element. The machine starts heating the water;
-
the water supply pipe is connected to the hydraulic system and there are no leaks;
-
the water drainage tube is set up according to the previous instructions;
-
there is enough water in the boiler;
-
the boiler is under pressure (0.8 to 1 bar/11.6 to 14.5 psi).
In case of doubt, have the machine checked by an authorized after-sales service center!
Before using the coffee maker for the first time or after a long idle period run the machine at least once using the blind
filter.
Steam dispensing (to prepare, for example, cappuccino)
Place the container under the steam wand so that its tip is completely immersed in the beverage to be steamed. Push
the lever and wait a few seconds. To stop dispensing steam, bring the lever back to the initial position.
Warning!
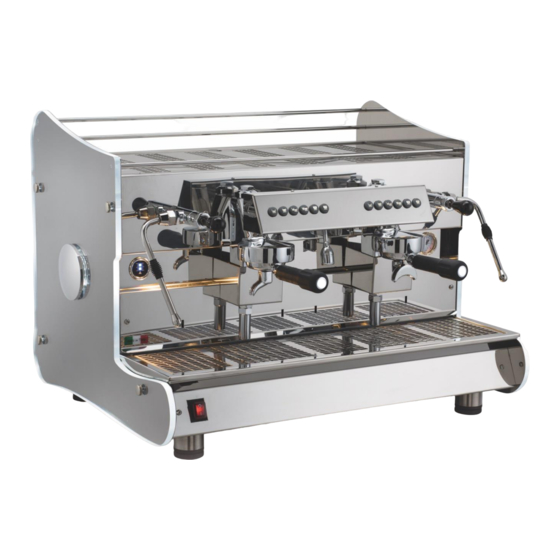
The steam wands, which rotate thanks to a ball joint, are located at the sides of the brew groups.
They reach very high temperatures when steam is dispensed.
5