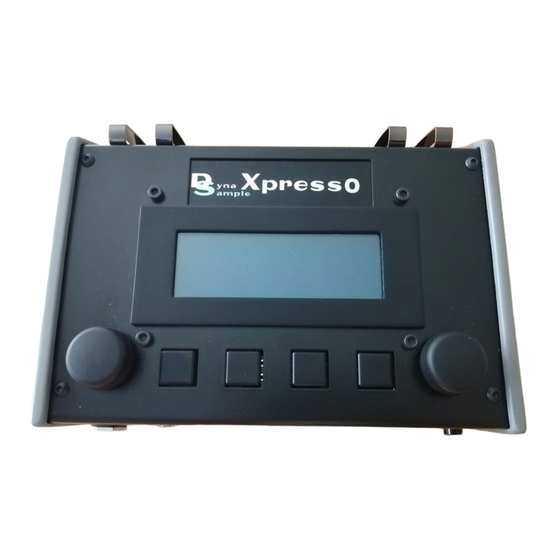
DynaSample XpressO Hızlı Başlangıç Kılavuzu
Sentezleyici DynaSample XpressO için çevrimiçi göz atın veya pdf Hızlı Başlangıç Kılavuzu indirin. DynaSample XpressO 6 sayfaları.

When you unpack your new XpressO you should find the following parts:
- XpressO (with soft case)
- AC adapter
- USB System Backup Drive (during the presale period NOT in the box! – You will receive it later separately.)
- Please download the operating manual from the XpressO website.
Placement
- Place the device on a dry surface and make sure that the air vents are never covered.
Power Supply
- Connect the included power supply to the Power In (DC 12V) jack on the rear side of the XpressO. Then
plug it into the wall outlet and move the Power Switch on the right hand to the upper position. You can turn
it off later by bringing it to the lower position.
The display shows a start-up message.
- The XpressO is now loading the software and the sound library. This will take a moment. When loading
has completed the display will show "READY" and change to the main display page showing the current
program name on the first line of the display. The next line will show the breath level and pitchbend by
default. The bottom line shows information about the MIDI program, transposition, octave and the current
edit channel.
This can be customized in the [Global] settings.
Audio Connections
- Connect the „Stereo Out" jack with a stereo 1/4 inch TRS cables to your (stereo) amplifier.
(If you use a mono TS cable you should set the stereo out to mono in [Utility] – see manual.)
- Alternatively you could connect stereo headphones with a 1/4 inch phone connector to the same output.
- If you have a digital SPDIF input on your sound system you can also use the rear SPDIF connector.
- Turn the volume all the way down before connecting the XpressO and then turn it back up slowly in order
to avoid damage to both your ears and your amplification system.
☺
hint:
To test the audio connection you could move with the left wheel twice counterclockwise and press onto the right wheel
to listen to the audio demos. Pressing once more will take you back to normal playing mode.
MIDI Connections
- Connect the MIDI Out of your MIDI controller with the MIDI In port of your XpressO.
- You can also use a USB keyboard or an Akai EWI-USB / EWI5000, etc. with any of the 2 USB ports.
The USB MIDI controller needs to support standard class compliant USB MIDI drivers in order to be
recognized. Make sure it is connected before starting up. A USB hub might work or not ...
- Set your controller to transmit on MIDI channel 1.
☺
hint:
For testing the MIDI communication you can activate the MIDI Monitor. Press the buttons 3+4 simultaneously to do so.
Pressing briefly onto any of the wheels will bring you back to normal playing mode.
DynaSample - XpressO
Quickstart
