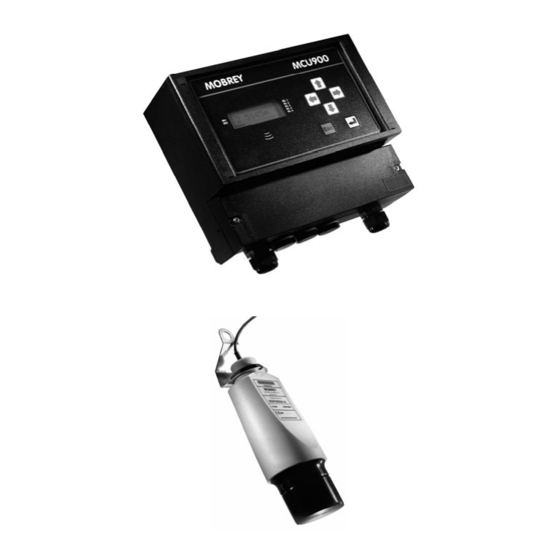
Emerson mobrey MSP-USTD1 Hızlı Başlangıç Kitapçığı - Sayfa 4
Ölçüm Cihazları Emerson mobrey MSP-USTD1 için çevrimiçi göz atın veya pdf Hızlı Başlangıç Kitapçığı indirin. Emerson mobrey MSP-USTD1 16 sayfaları.

Getting started
After completing the installation of both MCU901 control unit and the MSP900SH transmitter, the next stage is to switch on.
1.
Familiarise yourself with the front panel fascia.
Front Panel Fascia of MCU901W
2.
Switch on the MCU901 by applying the power. Wait
for the primary display (inset, right) to appear.
During this time, the MCU901 will read parameters
from the MSP900SH transmitter.
If being used for the first time, it will prompt for the
Bottom Reference of the MSP900SH transmitter
and then automatically set-up the 4-20mA output
span over this range. If you do not want to
commission the system now, simply switch off
the power – the same prompt will then re-appear
when switching on the next time.
If you are commissioning the system, edit the
Bottom Reference with the arrow-keys and then
press the yellow key to confirm the value. The
Bottom Reference can be changed at a later stage
but it is better to get it correct now. Should you
press the red (ESC) key, the MCU901 will continue
and the Bottom Reference prompt will re-appear
when switching on the next time.
Once the start-up is completed, the primary display
should appear, showing the measured depth of the
liquid in the tank. The value on the primary display
is the P.V. (Primary Variable).
(IP2040/QS)
Key to figure:
4-line LCD with backlight.
Keypad with 6 function keys.
Status LED – flashes once per second if okay.
3.
Familiarise yourself with the primary display.
Key to figure:
1. Off-line/on-line status. (Locked padlock = on-line)
(See page 14)
2. Digital input status. (o = de-energised,
3. Measured variable (P.V.) and units of measurement.
4. Bar graph of 4-20mA output of MCU901.
5. Relay (RL) status. (o = de-energised,
6. Digital communication in progress. (Absent if idle)
Note: If a "Find Instrument" screen appears and
remains, power off. Check the cabling and then try
again. If the problem persists, follow the on-screen
prompts until the primary display appears.
4
Primary Display
= energised)
= energised)
January 2006
