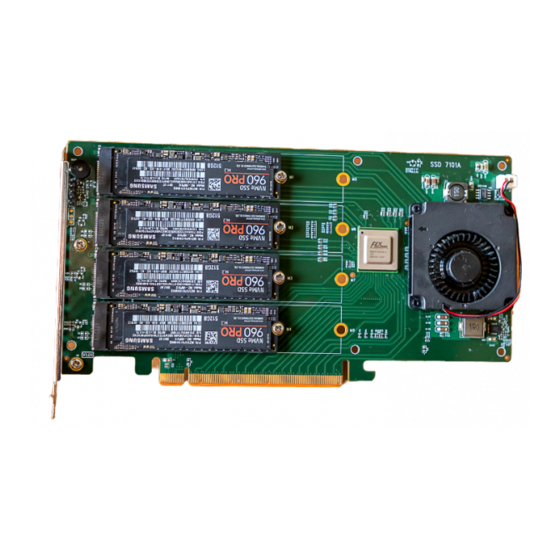
HighPoint SSD7101A-1 Manuel Kullanım - Sayfa 9
Bilgisayar Donanımı HighPoint SSD7101A-1 için çevrimiçi göz atın veya pdf Manuel Kullanım indirin. HighPoint SSD7101A-1 19 sayfaları. Using nvme raid aics with the dell precision 3930 rack workstation
Ayrıca HighPoint SSD7101A-1 için: Kullanıcı Kılavuzu (19 sayfalar), Hızlı Kurulum Kılavuzu (8 sayfalar), Hızlı Kurulum Kılavuzu (7 sayfalar), Hızlı Kurulum Kılavuzu (9 sayfalar), Hızlı Kurulum Kılavuzu (6 sayfalar)

Using HighPoint NVMe RAID AICs with the Dell Precision 3930 Rack Workstation
3. Installing HighPoint NVMe RAID AIC into Dell Precision 3930
Rack Workstation
3.1 Install hardware
3.1.1 Recommended tools
a. Screwdriver (system cover require a screwdriver to open)
b. Wired ESD wrist strap (to prevent electrostatic accidents)
3.1.2 Installing hardware
a. Use a wired ESD wrist strap that is properly grounded.
b. Shut down the system.
c. Insert a screwdriver and turn counterclockwise to unlock the system cover
latch.
d. Lift the latch upward to remove the system cover.
e. Remove the riser1 module from the system.
f. Pull the riser1 module latch and remove the riser1 module filler bracket.
g. Holding the edge of the HighPoint NVMe RAID AIC, align the HighPoint NVMe
RAID AIC connector with the riser1 module slot and insert it downward.
h. If you are using the SSD7140A, SSD7540, RocketAIC 7140AW, or RocketAIC
7540HW, you will need to connect the power cable to the 8-pin power
connector on the system and to the 6-pin power connector on the side of the
HighPoint NVMe RAID AIC.
Notes:
If you are not using the SSD7140A, SSD7540, RocketAIC 7140AW, or
RocketAIC 7540HW, you can safely move to the next step.
You may need to purchase additional power cables.
9
