adeptus 78105 Montaj Talimatları Kılavuzu - Sayfa 9
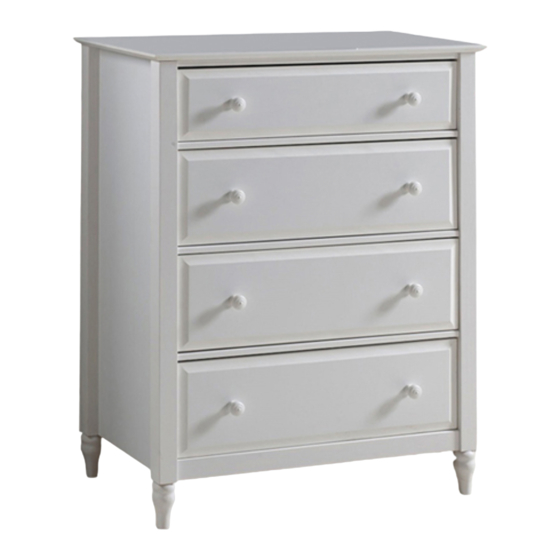
İç Mekan Mobilyaları adeptus 78105 için çevrimiçi göz atın veya pdf Montaj Talimatları Kılavuzu indirin. adeptus 78105 14 sayfaları. Cottage 4 drawer chest
Ayrıca adeptus 78105 için: Montaj Talimat Kılavuzu (14 sayfalar), Montaj Talimat Kılavuzu (14 sayfalar)

9
ATTACH BACK PANEL
L
K
K
K
K
K
K
K
K
08
K
!
K
Use all back panel nails.
Evenly spaced, they help
make the unit strong.
K
K
K
K=22 + 6 xtra
Back Panel
Nail
10
ATTACH THE ANTI-TIP SCREWS AND COVERS
I=02
J=01
7 x 50
mm
Anti-
tip
Wrench
Screw
NOTICE: THE WRITTEN INSTRUCTIONS CONTAINED HEREIN ARE COPYRIGHTED.
NOTE: Make sure to pull the
Safety Strap (part L), through
before attaching
the back panels (part 08).
K
K
K
K
08
K
K
K
K
K
J
5
I
M=02
Anti-tip
Screw
Cover
Before attaching the back
panel, make sure the unit is
assembled squarely. Use an
"L" Square tool, if necessary,
• First, make sure the unit is assembled squarely, use an "L" Square tool,
if necessary.
• Once the unit is square, you must also determine the square installation
of the back panels. Use an "L" Square tool, if necessary.
• The 2 back panels (part 08) are taped together. Unfold the back panels
(part 08) to make one full back panel.
• Once you have positioned the back panel (part 08) squarely, secure it to
the unit using 22 of part K nails evenly spaced, as shown.
• It is very important that you utilize all 22 nails. It strengthens the unit.
I
• The anti-tip screws (part I) should
be screwed into each of the 2 front
feet (part O) approximately 25 mm
or 1 inch as shown in the
illustration.
O
as shown.
J
I
• Attach 1 anti-tip screw (part I) to
each of the front 2 feet (part O)
using the provided wrench (part
J) as shown in the enlarged
illustration.
• After installation of the anti-
tipping screws (part I) to each
front foot (part O), place the
anti-tip screw cover (part M)
over the head of each anti-tip
M
screw (part I).
9 14
