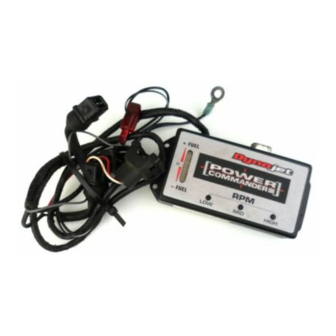
Dynojet Power Commander 3r Kurulum Talimatları Kılavuzu - Sayfa 6
Motosiklet Aksesuarları Dynojet Power Commander 3r için çevrimiçi göz atın veya pdf Kurulum Talimatları Kılavuzu indirin. Dynojet Power Commander 3r 6 sayfaları. For 2002 gsx1300r hayabusa

10 Make sure all the wires are routed properly.
11 Bolt down the fuel tank.
NOTE: When lowering the fuel tank make sure the fuel
line does not kink at the frame support. If the fuel line
does kink the bike may not run properly.
12 Reinstall the main seat and the passenger seat.
Adjusting Your Power Commander
Your Power Commander has been programmed with a base map for your
application. You can adjust the base map or install an alternate map using your
computer. Please refer to the supplied CD-Rom for more information.
You can also adjust your Power Commander using the face plate buttons as
described below.
NOTE: On this model the injectors are powered down shortly after turning the
ignition on. To adjust the buttons you will need to use the Power Adaptor
(#66116001 or 76423001). After hooking up the Power Adaptor to the PCIII
follow the instructions below.
1. Switch the emergency kill switch to the run position.
2. Hold all three buttons down.
3. While holding the buttons down turn on the ignition switch.
4. After turning on the ignition switch release the buttons.
5. Select the range you wish to adjust: Low, Med, High, by pushing the
corresponding button once.
6. At this point holding that button down will move the lights down (leaning out
the mixture).
7. Pushing the button repeatedly will move the light up (richening the mixture).
8. When the two center lights are lit up this is the "0" setting.
After making your adjustments wait 20 seconds before starting the bike or turn-
ing it off. This allows the settings to be saved to memory. To verify that it is
safe to start the bike, move the throttle and watch to see if the lights move up
and down the scale. If they do, you may start or turn off the bike.
6
If you do not have the Power Adaptor follow the instructions
below.
1. Switch the emergency kill switch to the run position.
2. Turn the ignition switch on and watch the green light on the PCIII
turn on and then off.
3. Hold all three buttons down and start the bike at the same time.
This may be difficult due to the clutch safety switch.
4. After the bike starts release the buttons.
5. Select the range you wish to adjust: Low, Med, High, by pushing
the corresponding button once.
6. At this point holding that button down will move the lights down
(leaning out the mixture).
7. Pushing the button repeatedly will move the light up (richening the
mixture).
8. When the two center lights are lit up this is the "0" setting.
Hold these buttons
and start the bike to
adjust the Power
Commander III
7
