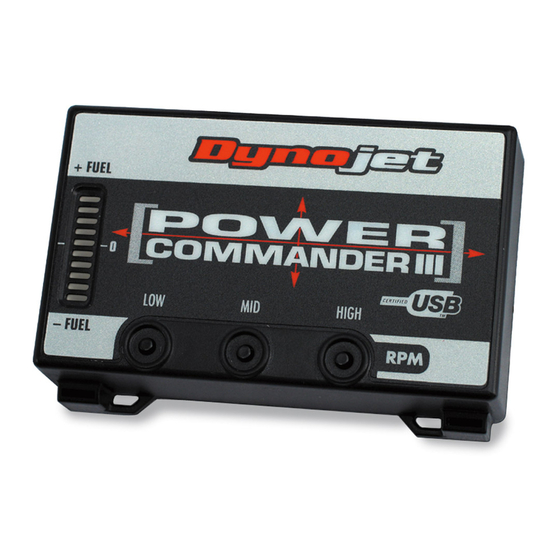
Dynojet Power Commander III Kurulum Talimatları - Sayfa 4
Motosiklet Aksesuarları Dynojet Power Commander III için çevrimiçi göz atın veya pdf Kurulum Talimatları indirin. Dynojet Power Commander III 4 sayfaları. Fuel adjustment
Ayrıca Dynojet Power Commander III için: Kurulum Talimatları (4 sayfalar), Kurulum Talimatları (3 sayfalar), Kurulum Talimatları (4 sayfalar), Kurulum Talimatları (5 sayfalar), Kurulum Talimatları (5 sayfalar), Kurulum Talimatları (3 sayfalar), Kurulum Talimatları (3 sayfalar), Kurulum Talimatları (3 sayfalar), Kurulum Talimatları (3 sayfalar), Kurulum Talimatları (5 sayfalar), Kurulum Talimatları (3 sayfalar), Kurulum Talimatları (3 sayfalar), Kurulum Talimatları (3 sayfalar), Kurulum Talimatları (3 sayfalar), Kurulum Talimatları (3 sayfalar), Kurulum Talimatları (3 sayfalar), Kurulum Talimatları (3 sayfalar), Kurulum Talimatları (4 sayfalar), Kurulum Talimatı (5 sayfalar), Kurulum Talimatları (4 sayfalar)

