Gama Sonic DP55F2 Kullanım Kılavuzu - Sayfa 2
Dış Mekan Işığı Gama Sonic DP55F2 için çevrimiçi göz atın veya pdf Kullanım Kılavuzu indirin. Gama Sonic DP55F2 2 sayfaları. 6.5' decorative post, cast aluminum 3" fitter
Please read the instruction manual carefully to obtain the best results from your purchase.
Thank you for your purchase. GAMA SONIC® solar charged lights are brighter and last all night with a full day solar charge.
Unique designs, superior light output, and numerous installation options confirm the outstanding value of our product.
visit our website or download the latest version of your instruction manual:
www.gamasonic.com Or www.gamasonic.com/user-guides
This product is covered for a 2-year warranty period.
In order to make sure that you will be covered, please activate your warranty by filling out all the
information needed with the proof of purchase in the link below. www.gamasonic.com/warranty
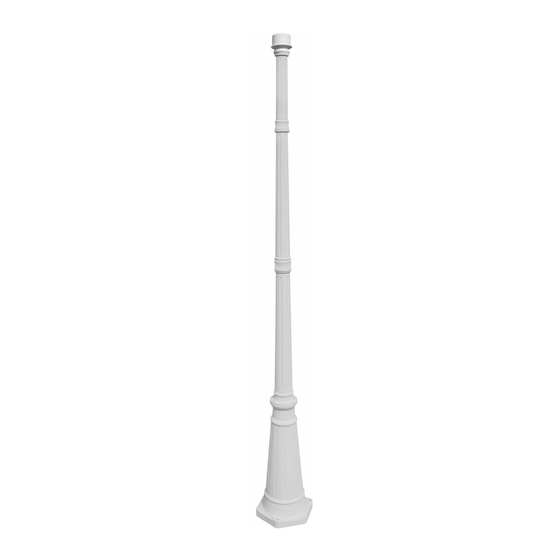
Unpack and identify
the following components:
the following components:
E
Tools that are needed but not
Tools that are needed but not
D
supplied with the Outdoor
supplied with the Outdoor
post light pole are: a screw
post light pole are: a screw
driver, a wrench and an
driver, a wrench and an
electrical drill that will be used
electrical drill that will be used
to anchor the lamp base to
to anchor the lamp base to
C
the ground.
the ground.
NOTE: The following steps are
NOTE:
for reference only. Consult
for reference only. Consult
your local hardware store for
your local hardware store for
the best installation method
the best installation method
for your particular surface.
for your particular surface.
B
Fig. 1
A
page 2
For technical assistance and more information call our Toll-Free number:
800-835-4113 (only within the US)
Fig. 2
Or
Installation Instructions
1.
Using the Base Pole (A) Mark and drill three holes
into a solid surface no larger than the size of the
concrete anchors.
2.
Put the concrete anchors into the drilled holes with
their threaded ends facing up (Fig. 2).
3.
Place pole base onto the anchors and secure it with
the washers, lock washers, and nuts using a wrench
(Fig. 3).
4.
Make sure the pole base (A) is stable before installing
Part (B).
5.
Place part (B) on top of part (A) and tighten with the
provided screws using a wrench or screwdriver.
6.
Screw part (C) to part (B) by twisting
Screw part (C) to part (B) by twisting
the pole clockwise. Repeat the
same process to secure part (D) to
same process to secure part (D) to
part (C) and part (E) to part (D).
Fig. 3