Maino MPS12 Kullanıcı Kılavuzu - Sayfa 2
Aksesuarlar Maino MPS12 için çevrimiçi göz atın veya pdf Kullanıcı Kılavuzu indirin. Maino MPS12 6 sayfaları.

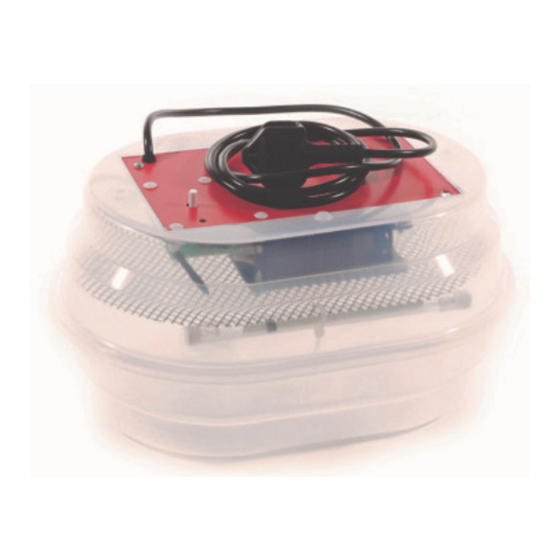
1. Setting Up The Incubator prior to use:
1.1 Place the Egg Tray in the base of the incubator.
Do Not Cover the Air Exchange Hole(s) over the fan on your incubator. All Embryos breathe in
Oxygen and excrete Cardon Dioxide (like us), so by covering the air hole you can suffocate your chicks
and they may die.
1.2 Water Pot - Place the water pot in the base. Do Not fill with water at this time.
1.3 Place the Lid on the base, after first removing the thermometer, and its protective case, from the underside of
the lid
1.4 Thermometer - Remove the thermometer from its protective shipping case, and carefully place vertically in
the hole in the top of the incubator. It will only fit into one hole, and does not need to be forced in.
2.0 Siting your Incubator
Basic features of the room where you place the Incubator:
The incubator must be placed in a clean, ventilated room, but away from draughts.
•
It must be supported on a solid surface
•
The room temperature must be between 18 – 23 °C. and 15 – 50 % Relative Humidity. Cold Air (Less than 18 °C will
•
lead to uneven air temperature in the incubator, and could cause a reduce in element life.
Do not use in greenhouses ( temperature too variable) or bedrooms for humans or animals. Oxygen is needed by chick
•
embryos in the incubator, eggs that breathing then expel carbon dioxide thus reducing the oxygen levels in the air!
This is very harmful to both human and animal health.
The machine should be placed OUT of contact with any liquids, that could prejudice the incubators operation and/or
•
also become very dangerous in operation!.
The incubator is manufactured and designed to incubate eggs only. The incubator has not been designed or tested as a
•
drying unit for any product.
3.0 Plug in your incubator and switch on the electrical socket. The fan should start operating and the LED on the
control card glow red.
3.1 Allow the incubator to settle. Allow the incubator to reach and maintain temperature for 8 hours minimum.
This is to ensure all components are operating correctly.
3.2 Adjusting the temperature. Once the temperature is settled, take a thermometer reading. You can adjust the
temperature up or down by turning the little stick near the red LED hole. Only little movements are
needed.Clockwise turns up the temperature and anti-clockwise lowers the temperature. Leave the incubator to
settle for 30 minutes between adjustments.
4.0 Selection of Optimum Hatching Eggs. With most eggs, they should be no older than within 8 days from the
date they were laid. Each with good weight, size and without defects or cracks. Eggs should be from healthy
breeding flocks . Do not incubate eggs collected on the day they were laid.
4.1 Setting your Hatching Eggs. Remove the incubator lid, and place carefully down. Mark each egg with a "0" and
a "X" on opposite sides of the egg. Lay all the eggs on the tray with all the "X"'s showing. These marks help you
to turn the eggs. Replace the incubator lid. And allow the incubator to reach temperature.
4.2 Turning your Hatching Eggs. Your incubator is a manual turning incubator. Turn your eggs from "O" to "X",
or "X" to "O", a minimum of twice a day, prefereably three times ( so each night the egg lies on a different side ).
To Switch off the incubator, turn off the electric socket at the wall and remove the plug from
the socket. The incubator will return to its previous settings when it is plugged back in annd switched
on.
