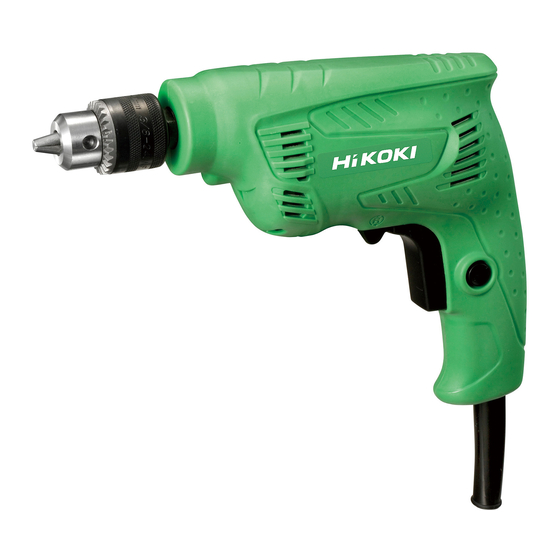
HIKOKI D 10VST Taşıma Talimatları Kılavuzu - Sayfa 15
Matkap HIKOKI D 10VST için çevrimiçi göz atın veya pdf Taşıma Talimatları Kılavuzu indirin. HIKOKI D 10VST 20 sayfaları.

4.
Selecting the appropriate drill bit:
When boring metal or plastic
○
Use ordinary metalworking drill bits.
When boring wood
○
Use ordinary woodworking drill bits.
However, when drilling 6.5 mm or smaller holes,
use a metalworking drill bit.
5.
Mounting and dismounting of the bit (Fig. 1)
(1)
Open the chuck jaws, and insert the bit into the
chuck.
(2)
Place the chuck wrench in each of the three holes
in the chuck, and turn it in the clockwise direction
(viewed from the front side). Tighten securely.
(3)
To remove the bit, place the chuck wrench into
one of the holes in the chuck and turn it in the
counterclockwise direction.
6.
Check the rotational direction (Fig. 2)
The bit rotates clockwise (viewed from the rear side)
by turning the rotational change lever to R-mark.
The rotational change lever is returned to the L-mark to turn the bit counterclockwise.
(The
and
HOW TO USE
1.
Switch operation
When the trigger is depressed, the tool rotates.
○
When the trigger is released, the tool stops.
The rotational speed of the drill can be controlled by
○
varying the amount that the trigger switch is pulled.
Speed is low when the trigger switch is pulled
slightly and increases as the trigger switch is pulled
more.
Pulling the trigger and pushing the stopper, it keeps
○
the switched-on condition which is convenient for
continuous running. When switching off , the stopper can be disconnected by pulling the
trigger again. (Fig. 3)
2.
Drilling
When drilling, start the drill slowly, and gradually increasing speed as you drill.
○
Always apply pressure in a straight line with the bit. Use enough pressure to keep drilling,
○
but do not push hard enough to stall the motor or defl ect the bit.
To minimize stalling or breaking through the material, reduce pressure on drill and ease the
○
bit through the last part of the hole.
If the drill stalls, release the trigger immediately, remove the bit from the work and start
○
again. Do not click the trigger on and off in an attempt to start a stalled drill. This can
damage the drill.
marks are provided on the body.)
Tighten
mark
mark
15
English
Chuck wrench
Loosen
Drill chuck
Fig. 1
Rotational change lever
Switch trigger
Fig. 2
Stopper
Fig. 3
