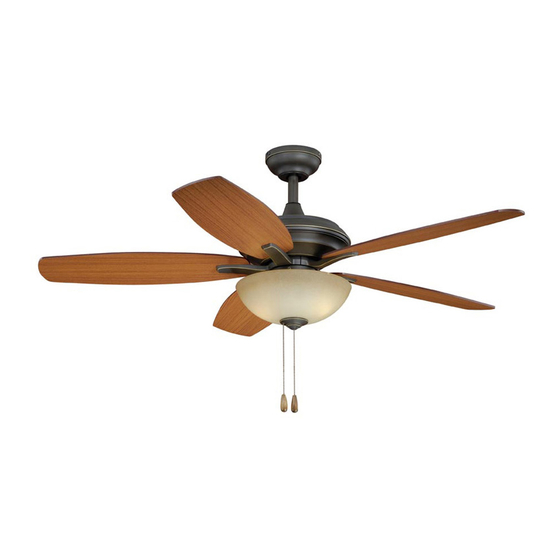
aireRyder FN52998 Manuel - Sayfa 6
Fan aireRyder FN52998 için çevrimiçi göz atın veya pdf Manuel indirin. aireRyder FN52998 9 sayfaları.

Green (Ground)
Fig.9
Wood Member
Ceiling Joist
(2" x 4" Approx.)
Ceiling
Flat Washer
Safety Cable
Dry Wall Screw
Attach the loop at the end of the safety
cable to the ceiling surface, then secure
it with a flat washer and dry wall screw.
Make sure the flat washer and dry wall
screw are covered by the fan canopy.
Plastic Insert
Washer
Motor Screw
Secure blade holders to the motor
with motor screws and washers.
NOTE: Before installing blade
holders to the motor, please
remove the plastic inserts.
Install fan light (Provided with package):
Hex Nut
Washer
Switch Box
Nipple
Fan Light
Thread the wires through the center
hole of switch box. Attach the switch
box onto the fan light with the nipple
through the center hole of switch box,
then secure it with a washer and hex
nut.
Make wire connections:
1). The white motor wire to the white wire from the outlet box with a wire nut.
2). The black motor wire and blue wire to the black (hot) wire from the outlet box
with a wire nut.
3). The ground wire from the outlet box to the ground wire from the motor
with a wire nut.
*** After making the wire connections, the wires should be spread apart with the
grounded wires on one side of the outlet box and the ungrounded wires on the
Blue
other side of the outlet box.
*** After the connections have been made, the wires should be turned upward and
pushed carefully up into the outlet box.
Fig.11
Junction Box
Hanger Bracket
Fig.10
Attach the canopy to the hanger
bracket, then secure it with four
screws and washers.
Fig.13
Fig.14
Switch Box
Blade Holder
Switch Box
Screw
Fig.15
Make wire connections using wire nuts:
--- The blue wire from the switch box to
the black wire from fan light.
--- The white wire from the switch box
to the white wire from fan light.
Carefully put the wires into the switch box.
Then connect the two terminals respectively
from the motor and the switch box.
Hanger Bracket
Screw
Washer
Canopy
Terminals
Fig.16
Switch Box
PAGE: 2 / 4
Blade Screw
Washer
Fig.12
Blade Holder
Tighten blades to blade holders by
using blade screws and washers.
Connect the two terminals
respectively from the motor
and switch box.
Assembly without fan light
Make sure the wires of the fan light
in the switch box are capped with
wire nuts. Secure the switch box
cover with the switch box screws.
Note: To install the fan light, skip
this step and proceed to Fig. 15.
Secure the switch box with the switch
box screws.
F
A
N
Blade
Fig.17
Switch Box
Screw
C
O
101227
