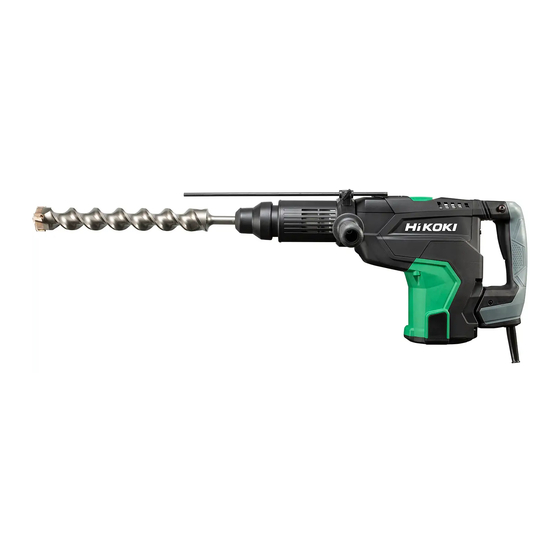
HIKOKI DH 52MA Taşıma Talimatları Kılavuzu - Sayfa 11
Darbeli Sürücü HIKOKI DH 52MA için çevrimiçi göz atın veya pdf Taşıma Talimatları Kılavuzu indirin. HIKOKI DH 52MA 16 sayfaları.

Rated voltage
Ensure that the power source to be utilized
V
conforms to the power requirements specifi ed
on the product nameplate.
P
Power Input
n
No-load speed
0
Bpm
Full-load impact rate
φ
Drilling diameter, max.
max
Weight
(According to EPTA-Procedure 01/2014)
kg
Drill bit
Core bit
Adjustment of the tool position function
Hammering only function
Rotation and hammering function
Switching ON
Switching OFF
Disconnect mains plug from electrical outlet
Class II tool
SDS max shank
STANDARD ACCESSORIES
In addition to the main unit (1 unit), the package
contains the accessories listed in the below.
○ Plastic case ................................................................ 1
○ Side handle ................................................................. 1
○ Hammer Grease A ..................................................... 1
Standard accessories are subject to change without notice.
APPLICATIONS
Rotation and hammering function
○ Drilling anchor holes
○ Drilling holes in concrete
Hammering only function
○ Crushing concrete, chipping, digging, and squaring
(Some applications need optional accessories)
SPECIFICATIONS
The specifi cations of this machine are listed in the Table on
page 6.
NOTE
Due to HiKOKI's continuing program of research and
development, the specifi cations herein are subject to
change without prior notice.
MOUNTING AND OPERATION
Action
Inserting SDS-max tools
Removing SDS-max tools
Changing tool direction
Selecting the operating mode
Switching on and off
Speed change*
1
Install the stopper
Installing the side handle
Using tapershank adapter
Removing tapershank adapter
Mounting core bit
Mounting guide plate and center pin
Replacing carbon brushes
Selecting accessories*
*1 The speed on dial 5 and 6 is almost the same, but it is not
malfunction.
*2 For detailed information regarding each tool, contact a
HiKOKI authorized service center.
Operate this Rotary Hammer by utilizing its own weight. The
performance will not be better even if it is pressed or thrust
forcibly against the work surface.
Hold this Rotary Hammer with a force just suffi cient to
counteract the reaction.
Warming up (Fig. 14)
The grease lubrication system in this unit may require
warming up in cold regions.
Position the end of the bit so makes contact with the
concrete, turn on the switch and perform the warming
up operation. Make sure that a hitting sound is produced
and then use the unit.
CAUTION
When the warming up operation is performed, hold the
side handle and the main body securely with both hands
to maintain a secure grip and be careful not to twist your
body by the jammed drill bit.
GREASE REPLACEMENT
This Rotary Hammer is of full air-tight construction to protect
against dust and to prevent lubricant leakage.
Therefore, this Rotary Hammer can be used without
lubrication for long periods. Replace the grease as described
below.
Grease Replacement Period
After purchase, replace grease after every 6 months of
usage. Ask for grease replacement at the nearest authorized
Service Center.
MAINTENANCE AND INSPECTION
1. Inspecting the tool bits
Since use of a dull tool will cause motor malfunctioning
and degraded effi ciency, replace the tool bit with new
ones or resharpen them without delay when abrasion is
noted.
11
Figure
2
3
4
5
6
7
8
9
10
11
12
13
15
–
2
Page
2
2
2
3
3
3
3
4
4
5
5
5
6
7, 8
