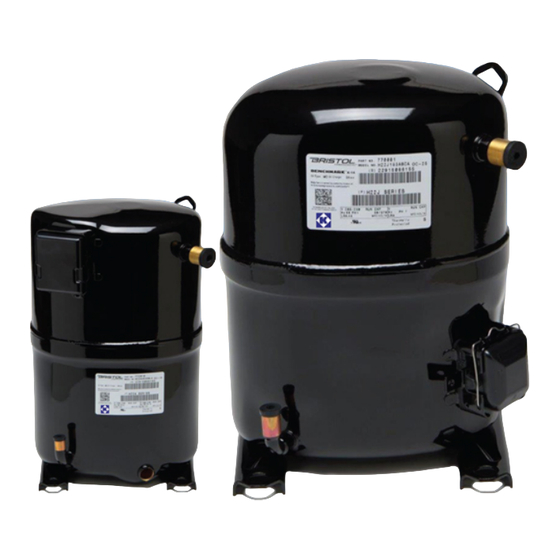
Bristol H89B18UABH Kurulum ve Servis Talimatları Kılavuzu - Sayfa 3
Hava Kompresörü Bristol H89B18UABH için çevrimiçi göz atın veya pdf Kurulum ve Servis Talimatları Kılavuzu indirin. Bristol H89B18UABH 18 sayfaları. Refrigeration/air conditioning/heat pump compressors

WARNING:
2.
DETERMINE CAUSE OF INITIAL FAILURE. In order to prevent a second failure, the cause of the
original failure must be determined. Identify the cause and make the necessary repairs.
A.
BEFORE REMOVING THE FAULTY COMPRESSOR: Remove refrigerant charge using proper
recovery procedures. Call 1-800-441-9450 for the name of the nearest Dupont authorized distributor,
or 1-800-631-8138 for Genetron Representative or 1-800-ASK-KLEA (ICI) for information on
refrigerant reclaim programs.
B.
Remove the electrical leads from the compressor. Note and label the terminal to which each wire is
connected.
C.
During the next operation, the access ports should be open so that pressure does not build up in the
system. Use a high temperature torch to sweat the suction line and the discharge line loose from the
compressor.
D.
Remove the faulty compressor.
E.
Assure excessive oil does not remain in the system. Measure oil in the failed compressor and,
if oil is low, flush excess from system (or see alternative below).
Good indicators of excess oil are: violent vibration and/or high variable sound as the extra oil moves
through the system.
Alternatives: If the excess oil cannot be flushed from the system, the last alternative is to reduce the
oil charge in the new compressor by the amount left in the system.
• This procedure should be used only if the following are true:
- The oil remaining in the system is dry (i.e., system had not leaked down)
- Oil type is same as in the replacement compressor
- Compressor failure was not a motor burnout
- The oil remaining in the system is less than 50% of the original oil charge
- Suction filter drier must be installed
• Procedure if failed compressor has lost more than 50% of the original oil charge
- Operate new compressor for 15 minutes in cooling mode (30 minutes if a suction line
accumulator is installed)
- Recover refrigerant and remove the compressor
- Remove oil from the compressor and recharge with fresh oil per the manufacturer's
specifications
E.
Remove the faulty compressor.
CAUTION: The compressor may contain harmful acids be sure to handle with extreme care using
proper protection equipment. After confirming oil charge level, return oil to compressor and install
suction and discharge rotalock caps. Copper tube fittings should be brazed closed. This is needed to
prevent further contamination of the compressor and to prevent spillage from the compressor.
3.
MOUNT THE NEW COMPRESSOR. Do not remove dust cover or rubber shipping plugs until all other
connections have been completed (i.e., filters installed and all tubing changes made see steps 4, 5 and
6). Compressor should not be open to the atmosphere for more than 15 minutes. Be sure to use the new
mounting grommets that were shipped with the compressor. If the mounting sleeves shipped with the
compressor are used, the mounting bolts will bottom out when tight. Use care not to over-compress the
mounting grommets when the mounting sleeves cannot be used.
4.
INSTALL FILTER DRIERS. Bristol Compressors recommends the use of new adequately sized liquid and
suction line driers anytime a compressor is replaced. If the new compressor is to be used to replace a
compressor with a burned motor, the use of a high acid neutralizing filter drier is recommended. For heat
pumps, a suction filter drier must be installed between the accumulator and the compressor suction
To avoid electrical shock, power to the compressor should remain off during
performance of Steps 2 through 10.
Page 3
